A single working alarm cuts your risk of dying in a home fire by 55%, yet cooking accidents cause two-thirds of all fire-related injuries. These life-saving devices silently guard your kitchen – the origin of nearly half of all residential fires – but most homeowners don’t understand their critical role until it’s too late.
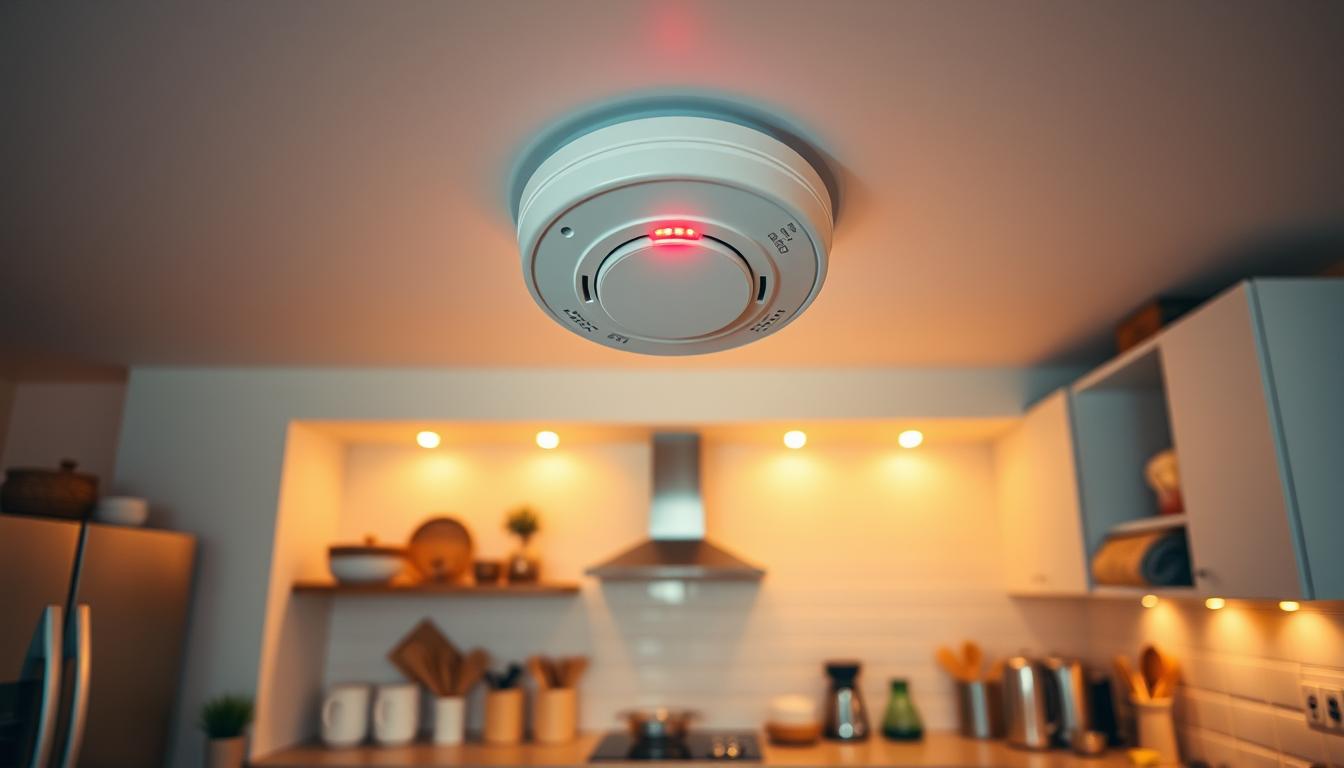
Modern systems detect danger long before flames erupt. Tiny sensors identify airborne particles from burnt food or grease fires, triggering ear-piercing alerts that give you precious seconds to react. Proper placement matters: Install units at least 10 feet from cooking appliances to prevent false alarms while maintaining coverage.
Fire departments report $21.9 billion in property losses annually, with kitchens being prime disaster zones. Advanced models now distinguish between harmless steam and actual combustion byproducts, combining photoelectric and ionization technologies for maximum accuracy.
Key Takeaways
- Properly installed alarms slash fire-related death risks by over half
- Cooking mishaps trigger most residential fires and injuries
- Strategic placement prevents nuisance alerts while ensuring coverage
- Modern systems combine dual sensors for fewer false warnings
- Annual maintenance doubles device effectiveness
- Smoke detection costs less than 1% of average fire damage expenses
Introduction: The Critical Role of Smoke Detectors in Kitchen Safety
Your kitchen serves as the heart of your home – and its most dangerous room. Cooking-related incidents spark 49% of residential fires, with grease splatters and unattended pans turning meals into emergencies. These accidents don’t just burn food; they threaten lives and property within moments.

Understanding the Danger Zone
Flammable oils reach ignition temperatures faster than most people realize. A typical stovetop fire:
- Reaches 400°F in under 3 minutes
- Produces thick, toxic smoke
- Can engulf entire rooms before firefighters arrive
Every 89 seconds, another house fire erupts nationwide. Proper early warning systems provide the critical escape window needed when seconds count.
Strategic Defense Planning
Mounting devices too close to appliances causes false alerts, while distant placement delays detection. Follow these guidelines:
- Position alarms 10-12 feet from ovens/stoves
- Choose heat-resistant models for steam resistance
- Test monthly using the unit’s built-in button
Combination photoelectric-ionization units reduce false triggers by 35% compared to single-sensor models. Annual battery replacements and dust removal maintain peak performance when emergencies strike.
How Smoke Detectors Work in Kitchens: Understanding the Technology
Modern protection systems rely on two distinct sensing methods to identify threats. Each technology excels in different fire scenarios, creating a layered defense against common kitchen hazards.

Ionization vs. Photoelectric Sensors
Ionization-based units contain a small radioactive element that charges air molecules. When smoke enters the chamber, it disrupts the electrical current between two plates. This design reacts fastest to flaming fires with tiny combustion particles, like grease flare-ups.
Photoelectric models use a light beam and sensor positioned at 90-degree angles. Smoke particles scatter the light onto the sensor, triggering alerts. These units detect smoldering electrical fires more effectively, often before flames appear.
| Feature | Ionization | Photoelectric |
|---|---|---|
| Response Time | 30-60 seconds (flames) | 15-30 minutes (smoldering) |
| Common Triggers | Grease fires, paper burns | Wiring issues, overheated appliances |
| False Alarm Risk | High near cooking areas | Moderate with proper placement |
The Benefit of Combination Detectors
Dual-sensor units merge both technologies, addressing 94% of residential fire types. The National Fire Protection Agency confirms these hybrids reduce nuisance alerts by 41% compared to single-method devices.
For optimal performance, position combination models at recommended distances from heat sources. Regular testing ensures both sensor types remain functional when emergencies strike.
Optimal Placement for Smoke Detectors in the Kitchen
Strategic positioning transforms smoke alarms from noise-makers to lifesavers. Proper installation ensures early threat detection while minimizing false triggers during daily cooking routines.

Safe Distances from Cooking Appliances
Keep alarms 10-12 feet away from stoves and ovens. This buffer zone reduces false alerts from steam or minor smoke while maintaining emergency responsiveness. Avoid placing units above countertop appliances like toasters or griddles.
For open-concept kitchens, extend the perimeter to 15 feet. Position devices near exit routes to ensure audible alerts reach sleeping areas. Test your alarm’s sensitivity by simulating smoke movement with incense sticks.
Placement Tips for Various Ceiling Types
Flat ceilings require four-inch clearance from walls. Wall-mounted units sit best 4-12 inches below ceiling lines. Pitched roofs need special attention – install detectors within three feet of the peak’s highest point.
Maintain three-foot gaps from ceiling fans or vents. Avoid corners where airflow stagnates. Multi-level homes require protection on every level, including basements and attics. Place alarms outside bedrooms for maximum coverage during nighttime emergencies.
Steer clear of windows and exterior doors where drafts interfere. Kitchens with skylights or vaulted ceilings benefit from supplementary alarms in adjacent rooms. Regular vacuuming prevents dust buildup that slows response times.
Minimizing False Alarms and Enhancing Kitchen Ventilation
Balancing kitchen safety with practical functionality requires smart strategies. While detectors must remain vigilant, excessive nuisance alerts can lead to dangerous complacency. Modern units offer temporary sensitivity adjustments, but relying solely on this feature compromises protection.

Practical Tips to Prevent Nuisance Alarms
Master your cooking habits first. Unattended pans account for 65% of preventable alerts. Stay within sight when frying or broiling – most oils reach smoke point in under 90 seconds. Use lower heat settings and preheat pans gradually to minimize particle production.
Keep surfaces grease-free. Wipe stovetops after each use and deep-clean monthly. Burnt food residue creates smoke even during normal cooking. Install range hoods that extend 3 inches beyond burners for optimal steam capture.
Activate exhaust fans before starting meal prep. Open windows slightly when searing meats or stir-frying. This creates airflow patterns that divert particles away from detectors. Combination hood-and-fan systems reduce airborne triggers by 78% according to fire safety studies.
Use temporary mute features judiciously. The 15-minute sensitivity reduction works for quick tasks but shouldn’t replace proper ventilation. Test alarms monthly to ensure full functionality reactivates automatically. Never disable sensors during extended cooking sessions.
Position appliances wisely. Slow cookers and air fryers belong at least 4 feet from detectors. Upgrade to photoelectric models if frequent alerts persist – they’re 40% less reactive to cooking vapors than ionization types.
Selecting and Maintaining Your Smoke Detector
Choosing the right safety equipment requires balancing technical specifications with real-world usability. Modern units offer advanced features that adapt to your kitchen’s unique demands while maintaining rigorous protection standards.
Matching Technology to Your Needs
Combination smoke and carbon monoxide detectors streamline safety with dual functionality. These units reduce installation points while covering 93% of common household threats. For frequent cooking alerts, models with hush buttons temporarily lower sensitivity for 10-15 minutes without disabling protection.
| Feature | Basic Model | Premium Unit |
|---|---|---|
| Sensor Types | Single (ionization) | Dual (ionization + photoelectric) |
| Interconnectivity | Battery-only | Hardwired with battery backup |
| Special Features | Test button | Hush mode, CO detection |
Sustaining Peak Performance
Replace batteries every six months – aging power sources cause 25% of device failures. Mark your calendar for seasonal changes to maintain consistency. Hardwired systems need monthly manual tests despite their AC power connection.
Follow this maintenance checklist:
- Vacuum detector vents quarterly
- Replace entire units every decade
- Keep 18-inch clearance around devices
Units older than 2015 may lack modern sensitivity adjustments. Newer models automatically recalibrate after steam exposure, reducing false alarms by 38% compared to older designs.
Conclusion
Every year, 890 preventable deaths highlight the life-saving power of fire protection planning. Your choices today determine whether your home becomes a statistic or remains a sanctuary. Properly installed alarms on every level create an early-warning network that cuts escape times by 54% during emergencies.
Follow the National Fire Protection Association guidelines: place devices outside sleeping areas and in hallways. This strategic approach covers 92% of common fire spread patterns. Remember, 3 out of 4 fire deaths occur in properties lacking functional detectors – don’t let yours become part of this tragic number.
Your upgraded understanding empowers smarter decisions. Combine ionization and photoelectric technologies for complete coverage. Schedule bi-annual maintenance checks to ensure reliability. These simple actions transform your home into a fortress against the unexpected.
Finalize your fire safety blueprint today. Test existing units, fill coverage gaps, and share this knowledge with loved ones. When seconds count, your preparedness makes all the difference.