Did you know the world record for layered smoothies stands at 12 distinct tiers? While most recipes max out at 5-7 vibrant layers, this edible art form combines science and creativity to transform ordinary ingredients into vertical masterpieces. Achieving those Instagram-worthy stripes isn’t just about aesthetics—it’s a precise balance of texture, density, and timing.
Professional chefs and home enthusiasts alike use frozen fruits like bananas and mangoes as natural thickeners. Greek yogurt adds creaminess while keeping mixtures sturdy enough to hold their shape. The secret? Each layer must mimic the consistency of soft-serve ice cream to prevent colors from blending.
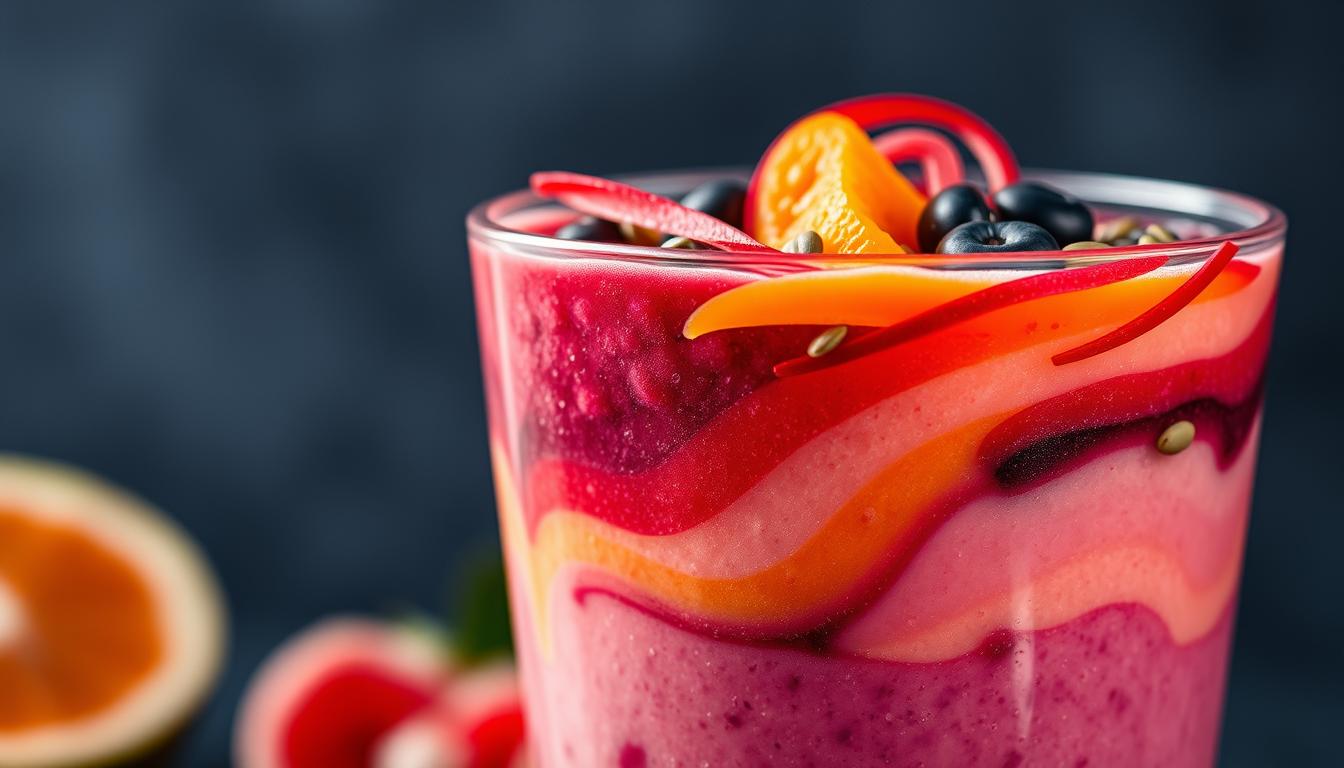
From earthy spinach greens to jewel-toned berry bases, these drinks pack nutritional diversity into every sip. Successful stacking relies on ingredient order: heaviest mixtures go first, with lighter blends layered gently on top. With practice, you’ll create showstopping gradients that work for birthdays, brunches, or viral social media posts.
Key Takeaways
- Most layered smoothies feature 5-7 distinct tiers for optimal stability
- Frozen fruits and Greek yogurt create essential thickness for separation
- Layer density determines stacking order and visual impact
- Minimal liquid prevents layers from bleeding together
- Color variations come from natural ingredients like spinach or blueberries
- Proper technique preserves individual flavors in each tier
Understanding the Science Behind Layered Smoothies
Mastering these vibrant drinks starts with physics. Your blender’s hidden superpower lies in its ability to create controlled chaos through vortex dynamics. This invisible force shapes every layer’s texture and keeps colors sharply divided.
The Role of the Blender Vortex

A high-powered blender generates a mini tornado inside its container. The spinning blades create suction at the base, pulling leafy greens and ice downward. This circulation pattern ensures even processing while maintaining the thick consistency needed for stable tiers.
Stronger motors produce tighter vortices. This allows frozen fruits to blend smoothly without overworking the mixture. Overheating from prolonged blending can melt ingredients, causing layers to collapse.
How Ingredient Order Affects Texture and Appearance
Start with delicate greens like spinach to kickstart the vortex. Add frozen mango or banana next—their density keeps the blades engaged. Pour liquids like almond milk last to fine-tune thickness.
Reverse this sequence, and you’ll get a watery base that bleeds into other colors. Proper layering ensures each tier retains its distinct flavor profile. For gradient effects, adjust liquid ratios slightly between blends.
Timing matters too. Blend each layer separately for 45-60 seconds. This prevents friction-induced warmth from altering textures. Cool mixtures hold their shape better when stacked.
Essential Ingredients for Creating Stunning Layers
Building a layered masterpiece starts with three non-negotiable elements: structural integrity, vibrant colors, and balanced flavors. The right combination of base ingredients ensures each tier stays distinct while delivering nutritional benefits.

Base Components: Yogurt, Frozen Fruit, and Liquid
Greek yogurt forms the foundation of stable layers. Its thick consistency and protein content create a creamy base that resists blending with adjacent tiers. Pair it with frozen banana or mango for natural sweetness and frosty texture.
Liquid components like almond milk or coconut water should be added sparingly. Too much liquid thins the mixture, causing colors to bleed. Aim for a spoonable texture resembling soft-serve ice cream.
Choosing the Right Fruits, Veggies, and Greens
Select produce based on color intensity and blending properties. Spinach and kiwi create emerald-green layers without overpowering flavors. For purple tiers, blend blackberries with a touch of beetroot powder.
Consider these combinations:
- Sunrise Yellow: Frozen mango + pineapple + Greek yogurt
- Ruby Red: Strawberries + raspberries + coconut milk
- Deep Purple: Blueberries + blackberries + almond milk
Frozen fruits maintain thickness, while fresh veggies like spinach add nutrients without watering down mixtures. Always layer denser blends first for optimal stacking success.
Step-by-Step Guide: How Many Layers Can You Stack in a Smoothie?
Precision separates sloppy blends from gallery-worthy creations. Your success depends on two critical phases: ingredient prep and assembly finesse. Let’s break down the process professional baristas use for sharp color divisions.

Preparing Each Layer Separately
Start by dividing your recipe components into color-coded bowls. Measure frozen banana for yellow tiers and pineapple for tropical orange layers first. Keep greens like spinach in airtight containers to prevent wilting.
Blend one color group at a time using minimal liquid – just enough to move the blades. Pour each mixture back into its original bowl. Rinse your blender thoroughly between batches. Residual purple berry blend will muddy subsequent green layers.
Techniques for Gently Assembling the Layers
Use a tablespoon to deposit mixtures along the glass edges. Start with deep purple at the bottom, working upward through your rainbow sequence. Circular spoon placement prevents sudden weight shifts that collapse delicate tiers.
Chill glasses between layers if working in warm environments. A 15.5 oz cup typically holds five distinct colors without overflow. For taller stacks, reduce portion sizes slightly. This way maintains structural integrity while maximizing visual impact.
Final pro tip: Layer thicker blends first, graduating to lighter consistencies. The density gradient acts as natural scaffolding. Your masterpiece now stands ready for its social media close-up.
Tips and Tricks for Perfect Smoothie Texture
The difference between a layered masterpiece and a murky mess often comes down to texture control. Mastering viscosity ensures colors stay distinct while delivering satisfying mouthfeel. Three critical factors determine success: blending duration, ingredient prep, and quick corrections.

Avoiding Runny Mixtures and Overblending
Set timers to limit blending to 45-60 seconds. Extended processing generates friction heat, thinning mixtures and causing color bleed. Pro tip: Pulse ingredients first before continuous blending to reduce total time.
If a layer becomes too thin, pour it into a sealable bag. Freeze for 10-15 minutes to restore thickness. This salvage method works better than adding thickeners like banana, which alter flavor profiles.
Cut fresh ingredients into 1-inch pieces before blending. Smaller chunks require less blender power, preventing overprocessing. For thinning, add chilled water one tablespoon at a time instead of juice or milk.
Watch for air bubbles – a sign of overblending. Foamy textures lack the density needed for stacking. Always start with frozen fruits at the bottom of your blender to maintain low temperatures during mixing.
Creative Variations and Presentation Ideas
Transform ordinary blended drinks into edible art with strategic color techniques and inventive serving methods. The secret lies in maximizing natural pigments while exploring unconventional formats that showcase your layers.
Enhancing Colors Without Artificial Additives
Boost vibrancy using plant-based ingredients. Frozen beets create magenta layers, while turmeric powder adds golden hues to pineapple-based mixtures. For true blue tones, blend banana and coconut water first to create a pale base, then mix in spirulina powder.
Three natural color solutions:
- Sunset Orange: Carrot juice + mango
- Emerald Green: Spinach + kiwi + coconut milk
- Ruby Red: Strawberries + pomegranate powder
Beyond the Glass: Reimagining Layered Treats
Pour leftover mixtures into popsicle molds for striped frozen desserts. Alternate berry and coconut layers, freezing each for 15 minutes before adding the next. This method preserves sharp divisions better than liquid stacking.
Store unused components in airtight containers for 48 hours. When ready to serve, layer chilled mixtures over fresh leafy greens for texture contrast. Garnish with skewered berries or pineapple chunks to highlight your recipe’s colors.
For sugar-conscious options, use ripe bananas instead of added sweeteners. Their natural sugars intensify when frozen, reducing the need for extra powder or syrups. This approach maintains flavor balance while keeping nutritional value high.
Conclusion
Crafting layered smoothies balances creative expression with kitchen science. While most recipes shine with five to seven tiers, success hinges on mastering texture control and strategic ingredient pairing. Thick bases like protein-rich yogurt and frozen fruit create stable foundations, while careful liquid measurements prevent color bleeding.
These vibrant drinks deliver more than visual appeal. Leafy greens like spinach boost mineral content, while layered fruits provide diverse vitamins. Proper technique ensures each sip combines flavors without muddling nutritional benefits—a tasty way to enjoy balanced nourishment.
Experiment with seasonal produce or colorful powders to elevate your recipe. Start with simple combinations in small cups, gradually advancing to intricate designs. Remember: chilling mixtures between layers preserves crisp divisions better than rushing the process.
With practice, you’ll transform everyday ingredients into edible art that delights eyes and taste buds. Whether hosting brunch or fueling workouts, layered smoothies turn healthy habits into joyful rituals.