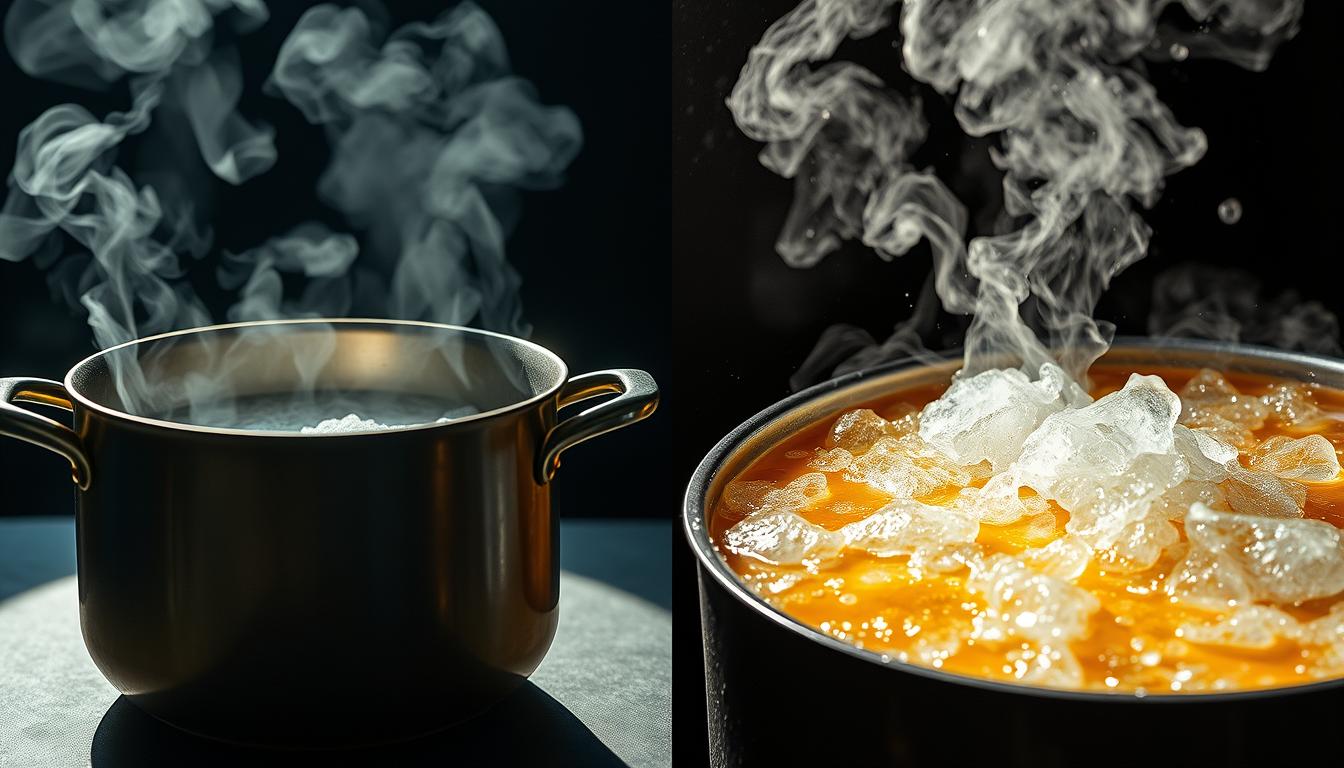
While professional chefs nail perfect pasta and tender soups consistently, most home kitchens struggle with one foundational concept. The secret? Knowing when to create rolling bubbles versus gentle wisps of steam. This critical distinction separates mediocre meals from restaurant-quality dishes.
Temperature control transforms ingredients completely. High heat breaks down fibers rapidly, while low-and-slow methods preserve delicate textures. Eggs become rubbery or silky. Vegetables turn mushy or crisp-tender. Your cooking results depend entirely on this choice.
You’ll learn how bubble size and movement affect food chemistry. Discover why proteins behave differently at 212°F versus 185°F. We’ll show you visual cues to master both techniques effortlessly.
Key Takeaways
- Heat intensity directly impacts food texture and nutrient preservation
- Bubble patterns indicate precise temperature ranges for each method
- Proper technique prevents overcooking delicate ingredients like fish or herbs
- Water movement affects flavor distribution in broths and sauces
- Equipment choices influence temperature consistency
Armed with this knowledge, you’ll finally understand why recipes specify particular cooking methods. Say goodbye to soggy vegetables and hello to perfectly cooked grains every time.
Understanding Boiling: Definition and Effects
Mastering water’s behavior unlocks precision in your kitchen. This high-heat technique works best with durable ingredients that need structural transformation.

Definition of Boiling in Cooking
Liquid reaches its boiling point when vapor bubbles rise continuously from your pot’s base to the surface. At sea level, this happens at 212°F (100°C) – intense enough to soften carrots in minutes but harsh for fragile items like fresh herbs.
Impact on Texture and Flavor
The vigorous movement alters food’s cellular structure. Tough beef cuts become fork-tender as collagen dissolves, while broccoli florets turn soggy if left too long. Pro tip: Salt your water generously to enhance natural flavors before they leach out.
Starchy foods like potatoes and pasta thrive here. The rolling action helps sauces cling to noodles while ensuring even cooking. For delicate proteins or leafy greens, gentler methods preserve taste and integrity better.
Understanding Simmering: Definition and Benefits
Transforming tough cuts into melt-in-your-mouth dishes requires a method that whispers rather than shouts. Simmering operates at 185-205°F, where heat works its magic without violence. This technique preserves textures while coaxing out deep flavors—think fork-tender meats and silky sauces.

What Is Simmering and How It Works?
Start by bringing your liquid to a full boil, then dial down the heat until tiny bubbles occasionally break the surface. Unlike boiling’s chaotic energy, simmering creates a calm environment where proteins relax and starches swell gradually. As Chef Elena Rodriguez notes: “A proper simmer lets ingredients converse rather than argue.”
This method shines when making broths or braises. The gentle motion prevents delicate herbs from disintegrating while allowing collagen in meats to dissolve slowly. Your pot will show three signs:
| Indicator | Appearance | Temperature Range |
|---|---|---|
| Bubble Formation | Occasional wisps | 185-195°F |
| Surface Movement | Subtle ripples | 195-205°F |
| Steam Release | Consistent vapor | 200-205°F |
Simmering maintains food safety by starting at boiling temperature, then holding above 165°F. It’s ideal for starchy foods—rice absorbs liquid evenly, while potatoes keep their shape. For soups, this approach lets flavors develop complexity without turning vegetables to mush.
Adjust your burner to low-medium once boiling begins. Lid partially on retains steam without pressure buildup. Stir occasionally to prevent sticking, but avoid disrupting the gentle cooking process. Your patience rewards you with dishes where every ingredient keeps its touch of authenticity.
Boiling vs. Simmering: What’s the Real Difference?
Controlling your stove’s power transforms ordinary meals into extraordinary ones. Two techniques dominate liquid-based preparation, each with distinct roles in achieving perfect results.
Temperature, Bubbles, and Cooking Dynamics
Watch your pot closely. At 212°F, rapid bubbles race upward nonstop – this boiling point works magic on sturdy foods like potatoes or dried pasta. Lower the heat to 185-205°F, and you’ll see sporadic wisps breaking the surface – the sweet spot for simmering.
These bubble patterns directly impact texture. Vigorous boiling shakes ingredients violently, ideal for quick-cooking items. Gentle simmering lets proteins relax gradually, preventing toughness in meats or curdling in dairy-based sauces.
When to Choose Boiling or Simmering in Recipes
Match your method to the ingredient’s needs:
- Use rolling boils for blanching vegetables or preparing grains that require intense heat
- Opt for simmering when making broths, poaching eggs, or cooking delicate fish fillets
- Start with a boil, then reduce to simmer for dishes like stews – this seals in flavor while tenderizing meats
Pressure cookers excel at maintaining high temps for tough cuts, while heavy-bottomed pots distribute steam evenly during slow simmers. Your choice determines whether ingredients emerge intact or disintegrated.
Culinary Techniques: When to Boil or Simmer
Your kitchen success hinges on matching heat intensity to ingredients’ needs. The right approach preserves textures, enhances flavors, and transforms ordinary meals into memorable ones.
Selecting the Ideal Method for Different Foods
Sturdy foods like dried pasta or root vegetables thrive in rolling boils. The vigorous liquid movement ensures even cooking – think al dente noodles or fork-tender potatoes. For chili or broth, simmering melds flavors without shredding meat.
Delicate proteins demand gentler treatment. Poach chicken breasts at 185°F to retain moisture. Slow-simmered beef stew becomes fall-apart tender as collagen dissolves gradually. Leafy greens wilt perfectly when steamed above a low bubble line.
Your pot tells the story. Rapid bubbles mean “go time” for blanching veggies. Lazy wisps signal ideal temperature for reducing sauces. Master these cues, and every recipe becomes a canvas for precision cooking.