Did you know that proper fermentation can double your bread’s volume in just one hour? This invisible transformation turns dense flour mixtures into airy, flavorful loaves. Without this critical step, even the best ingredients fall flat.
Proofing—the stage where yeast consumes sugars and releases carbon dioxide—creates the signature rise and texture of artisanal loaves. The gas gets trapped in the gluten network, which stretches like a balloon to hold those bubbles. Timing matters: too little fermentation leaves bread dense, while overproofing collapses its structure.
Professional bakers rely on this process to develop complex flavors and a tender crumb. The yeast’s activity doesn’t just inflate the mixture—it breaks down starches, enhances aroma, and balances acidity. Skipping this step robs your loaf of its soul, leaving it bland and heavy.
Key Takeaways
- Fermentation during proofing creates air pockets, giving bread its light texture.
- Yeast converts sugars into carbon dioxide, which expands the gluten structure.
- Proper timing ensures optimal rise without overstretching the dough.
- Flavor develops as enzymes break down starches into simpler sugars.
- Underproofed bread remains dense, while overproofed loaves lose shape.
Understanding the Role of Proofing in Baking
Every baker’s success hinges on understanding proofing’s two-step process. This stage shapes your bread’s final texture, height, and flavor through controlled fermentation. While often treated as a single concept, proofing involves distinct phases that transform raw ingredients into a light, airy loaf.

What Is Proofing?
The process occurs in two critical phases. After kneading, your dough undergoes bulk fermentation—the first rise where yeast starts breaking down sugars. Left in a covered bowl for 1-2 hours, the mixture develops its initial structure as gas bubbles form.
Shaping redistributes these air pockets, making the second proof essential. This final rest lets the dough regain volume lost during handling. Professional bakers time this phase carefully—too short creates dense bread, while overproofed loaves collapse in the oven.
How Yeast Activates Dough
Yeast springs to life when hydrated, feeding on sugars to produce carbon dioxide. This gas gets trapped in gluten networks, causing your dough to expand. Three factors control this reaction:
- Temperature (ideal range: 75-78°F)
- Available sugars in the flour
- Hydration levels in your recipe
During bulk fermentation, enzymes develop complex flavors while strengthening the dough’s elasticity. The second proof fine-tunes this structure, ensuring even crumb distribution before baking.
Why Dough Needs Proofing
Your bread’s magic happens during those quiet moments when the mixture rests. This critical phase transforms sticky flour into a living ecosystem where flavors bloom and textures evolve.

Impact on Bread Texture and Structure
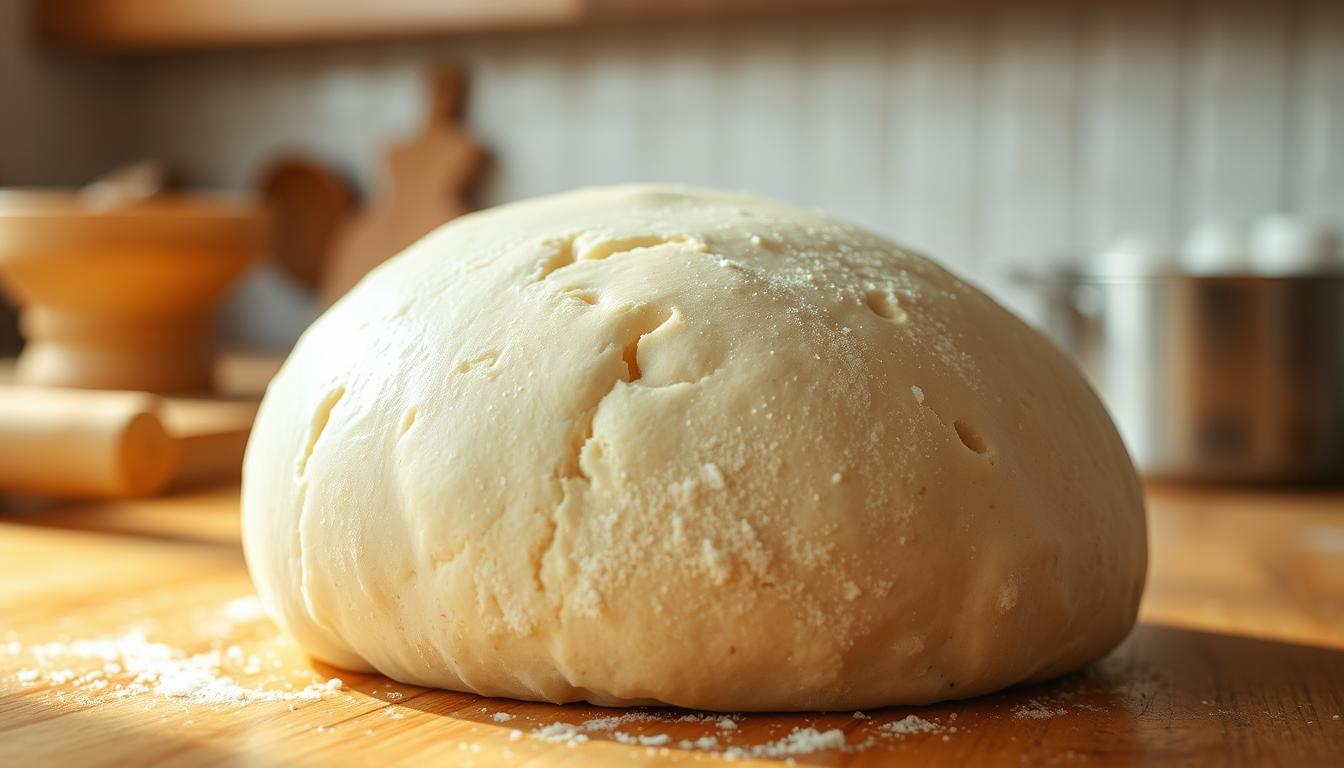
Proper fermentation creates a gluten network that acts like scaffolding. As yeast produces gas, these elastic strands stretch to trap bubbles, forming the bread’s signature holes. You’ll notice your mixture doubles in size when ready—visible proof of active carbon dioxide production.
Under-fermented loaves remain dense because the gluten never fully develops. Overproofed ones collapse when baked, their structure too weak to hold shape. Recipes call for specific timings because temperature and humidity affect how quickly yeast works.
Enhancing Flavor and Aroma
That irresistible bakery smell comes from alcohols and acids created during bulk fermentation. Enzymes break down starches into sugars, which yeast converts into complex flavors. “The difference between good bread and great bread lies in these chemical reactions,” observes a Michelin-starred baker.
Quick breads skip this step, resulting in simpler tastes. Properly proofed loaves develop tangy notes and nutty undertones that machines can’t replicate. Your final bake will reward patience with layers of flavor in every slice.
Setting Up the Optimal Proofing Environment
Creating the right conditions for fermentation separates homemade loaves from bakery-quality results. Yeast behaves differently depending on its surroundings, making environmental control essential for predictable outcomes.

Ideal Temperature and Humidity
Yeast becomes most active between 72°F and 78°F. Warmer spots accelerate fermentation, while cooler areas slow it down. Use a digital thermometer to monitor your dough’s core temperature—this prevents overproofing in hot kitchens.
Humidity above 75% keeps surfaces from drying out. Cover bowls with damp towels or reusable lids to maintain moisture. Avoid direct sunlight, which creates uneven heat pockets.
Choosing the Perfect Location in Your Home
Your oven becomes a proofing chamber when turned off with the light on. The bulb generates enough warmth to sustain yeast activity. Other reliable spots include:
- Top shelves near heating vents
- Empty microwaves with boiled water cups
- Spaces above refrigerators
Drafty areas disrupt fermentation. Test locations by placing a thermometer inside for 10 minutes before adding your dough. Adjust proofing times based on readings—warmer environments may cut resting periods by 20-30%.
Professional bakers often use proofing boxes, but a heating pad under a covered bowl works similarly. Consistency matters more than equipment. Your bread will develop better structure and flavor when temperature stays steady.
Methods and Techniques for Proofing Dough
Your bread’s success depends on how you handle the mixture during its resting phase. Choosing the right tools and methods preserves moisture, controls fermentation speed, and ensures consistent results.

Traditional Versus Modern Proofing Methods
Grandma’s kitchen towel method often fails modern bakers. While cloth allows airflow, it dries surfaces and creates a crust that restricts expansion. “Towels work for short rests but sabotage longer fermentation,” notes a bakery instructor from San Francisco.
Modern solutions like plastic wrap or lidded containers create an airtight seal. Transparent materials let you monitor growth without uncovering the mixture. Heavy-duty buckets with measurement markings simplify tracking volume changes during bulk fermentation.
Effective Covering Techniques to Prevent Drying
Press plastic directly onto your mixture’s surface to lock in humidity. For bowls, use elastic silicone lids that snap tight. Avoid gaps where air can sneak in—even small openings accelerate moisture loss.
Check coverage by running a finger across the top. A properly sealed mixture feels tacky but not sticky. If baking weekly, invest in a lidded bucket. These containers stack neatly and withstand frequent use better than disposable wraps.
Remember: Dry surfaces crack during shaping and release trapped gas. Your final loaf depends on maintaining that delicate balance between protection and controlled expansion.
Proofing Yeast: Active Dry vs. Instant
What separates a dense brick from an airy masterpiece? Your choice of yeast and activation method determines whether your bread rises or disappoints. These two varieties behave differently, requiring distinct handling for optimal fermentation.
Activating Active Dry Yeast Correctly
Active dry yeast needs warm water between 105-110°F to wake up. Mix it with a pinch of sugar and let sit for 10 minutes. Look for a foamy layer—this confirms your yeast is alive.
Water hotter than 120°F kills the organisms. Too cold, and they won’t activate. Professional bakers call this “blooming”—a safety check before adding expensive ingredients. Always cover the mixture to retain heat during this critical phase.
Best Practices When Using Instant Yeast
Instant yeast skips the blooming step. Blend it directly with dry ingredients using room-temperature liquids. This variety works 50% faster than active dry, cutting proofing time significantly.
Reduce water temperature to 95-100°F when using instant. Unlike active dry, it contains live cells with a protective coating that dissolves during mixing. “Instant yeast is our secret for same-day sourdough,” shares a Brooklyn bakery owner.
| Feature | Active Dry Yeast | Instant Yeast |
|---|---|---|
| Activation Required | Yes (blooming) | No |
| Ideal Liquid Temp | 105-110°F | 95-100°F |
| Proofing Speed | Standard | 25-50% Faster |
| Recipe Adaptation | Use 25% more | Reduce by 20% |
Active dry suits recipes needing longer fermentation, while instant excels in quick breads. Test your yeast’s viability monthly by mixing ¼ teaspoon with warm water and sugar. No foam means it’s time to restock.
Troubleshooting Common Proofing Issues
Even seasoned bakers encounter fermentation setbacks. Spotting early warning signs and adapting your approach prevents wasted ingredients and ensures consistent results.
Signs of Under-Proofing and Over-Proofing
Your mixture should reach double size within 2-3 hours. If it stalls, check for cold drafts or dry air—common yeast inhibitors. Under-proofed dough feels stiff and springs back aggressively when pressed.
Over-proofing reveals itself through sagging shapes and large surface bubbles. The gluten network stretches beyond recovery, causing collapsed centers during baking. Trust visual cues: proper fermentation creates smooth, elastic surfaces.
Adjusting Time and Temperature for Best Results
Use the poke test for freeform loaves. Press a floured finger ½” deep—if the indent remains, bake immediately. Persistent rebound means more rising time.
Control variables by proofing in a turned-off oven with the light on (ideal 75°F). Cold kitchens may need 25% longer durations. For time-sensitive bakes, activate sluggish yeast by dissolving it in 105°F water with sugar before mixing.