Your countertops hold more discovery potential than most school labs – and you use them daily. Common household items like baking soda, vinegar, and food coloring become tools for groundbreaking learning moments when viewed through a scientific lens.
Transform ordinary routines into extraordinary lessons by exploring states of matter with ice cubes or chemical reactions during cookie baking. These activities require no special equipment – just curiosity and everyday pantry staples.
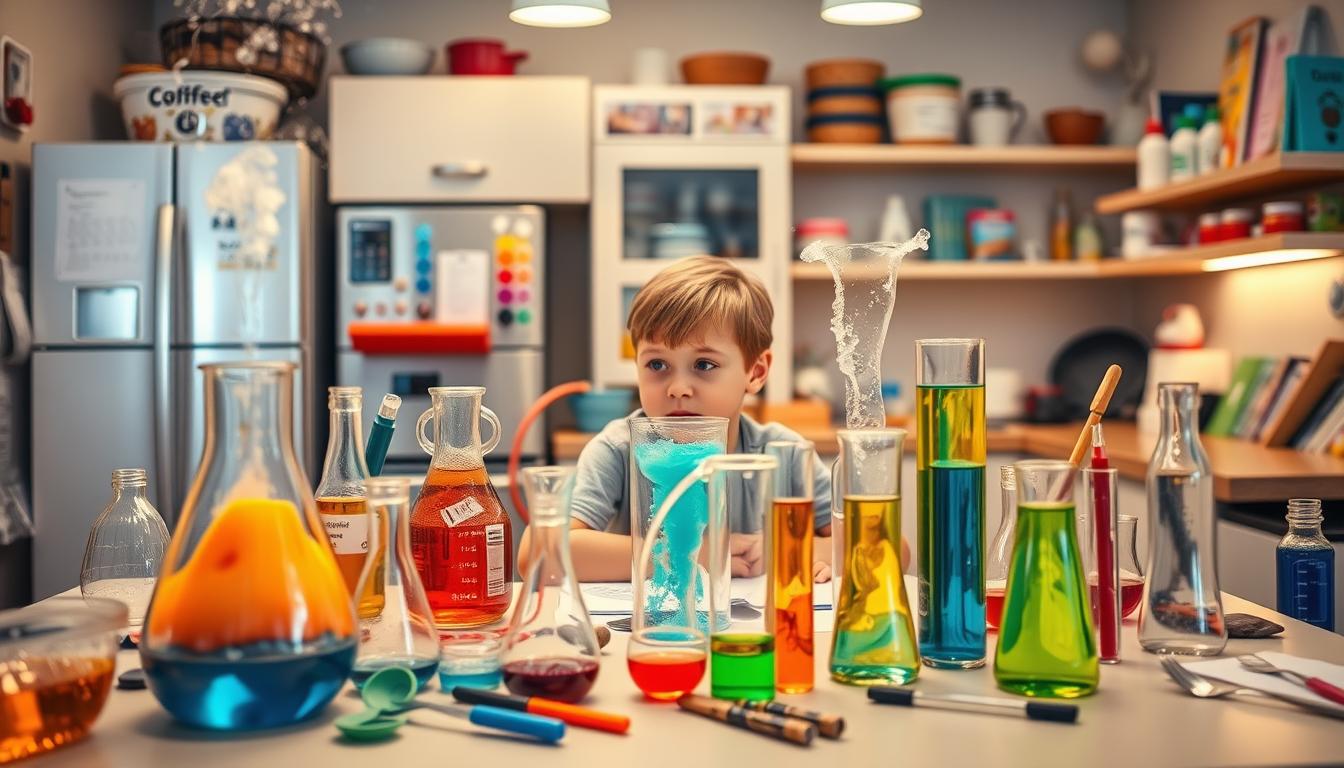
Children naturally ask “why” questions about their environment. Hands-on exploration with water displacement or density towers turns abstract concepts into tangible experiences. You’ll watch lightbulb moments happen while making rainbow layers in jars or erupting mock volcanoes.
Key Takeaways
- Turn meal prep areas into interactive learning spaces using items you already own
- Demonstrate core physics and chemistry concepts through edible projects
- Strengthen family bonds while developing critical thinking skills
- Create engaging lessons about temperature, density, and molecular changes
- Spark lasting interest in STEM fields through playful experimentation
Getting Started with Kitchen Science
Discover how ordinary ingredients can unlock extraordinary scientific discoveries right at home. This approach turns daily routines into educational opportunities using items already in your cabinets. No specialized gear required – just curiosity and everyday materials.

Why Explore Science in Your Kitchen?
Hands-on activities naturally teach the scientific method through trial and observation. Young learners form hypotheses when guessing how oil interacts with water. Teens might track temperature changes during baking reactions. These experiences make abstract ideas concrete through sensory engagement.
Adjust activities for different developmental stages. Preschoolers can sort ingredients by texture. Elementary students might chart growth patterns in sprouting beans. Older youth can design multi-step tests, building analytical skills they’ll use beyond the home lab.
Safety Tips for Fun Experiments
Always prioritize safe exploration. Follow these guidelines:
- Supervise younger participants during mixing or heating steps
- Use protective gear like gloves when handling acidic liquids
- Label all containers clearly to avoid accidental ingestion
Establish clear workspace boundaries and cleanup routines. Teach responsible material handling through consistent practice. These habits create confidence while nurturing respect for scientific processes.
Essential Ingredients and Tools for Kitchen Science
Transform ordinary drawers into discovery zones with tools you use daily. Your space already contains everything needed to explore chemical reactions and physical changes. No specialty gear required – just everyday objects waiting to reveal hidden patterns.

Common Kitchen Items You Already Have
Measuring cups become precision instruments when tracking density differences. Mixing bowls turn into reaction chambers for bubbly volcanoes. Even appliances serve dual purposes:
| Tool | Scientific Use | Learning Concept |
|---|---|---|
| Digital scale | Mass comparisons | Weight vs volume |
| Thermometer | Heat transfer studies | Energy changes |
| Mason jars | Layering solutions | Density towers |
Household Ingredients Spotlight
Pantry staples unlock surprising reactions. Baking soda and vinegar demonstrate acid-base interactions, while salt alters freezing points in ice experiments. Consider these versatile components:
- Citrus fruits: Create electrical circuits or inflate balloons
- Vegetable oil: Teach liquid density through layered bottles
- Cornstarch: Explore non-Newtonian fluids
Printable guides help structure activities without stifling creativity. Store materials in labeled bins for spontaneous learning moments that turn “I’m bored” into “Let’s experiment!”
Kitchen Science Experiments for Families You Can Try Today
Transform daily routines into discovery sessions with these accessible activities. Simple materials like flour, fruit, and baking supplies become gateways to understanding fundamental concepts through hands-on exploration.

Simple Projects for Curious Minds
Start with bread-making in a sealed bag to demonstrate yeast activation. Kids witness dough expansion while learning about gas production and fermentation. This edible project combines measurement skills with observable chemical changes.
Movie nights gain educational value with popcorn experiments. Track kernel transformations as heat converts internal moisture to steam. Compare unpopped versus popped pieces to discuss pressure and structural changes.
- Investigate fruit oxidation using apple slices and various liquids
- Create balloon inflation through baking soda reactions
- Chart temperature effects on butter consistency
Young learners develop critical thinking by predicting outcomes and analyzing results. Activities progress from basic observations to multi-step tests, building confidence through achievable challenges. Most projects require under 20 minutes and common household items.
These experiences turn “why” questions into teachable moments. Children grasp abstract ideas like gas expansion or enzymatic browning through tactile engagement. The approach nurtures natural curiosity while strengthening observation and reasoning abilities.
Edible Science: From Ice Cream in a Bag to Homemade Butter
Whip up scientific discoveries that taste as good as they teach with these edible projects. Everyday ingredients reveal fascinating transformations when you explore phase changes and molecular interactions through tasty creations.

Ice Cream in a Bag Activity
Combine cream, sugar, and vanilla in a small bag. Place it inside a larger one filled with ice and salt. Shake vigorously for 5-7 minutes while discussing how salt lowers water’s freezing point. Watch liquid magically thicken into dessert through exothermic energy transfer.
This activity demonstrates freezing point depression in action. Children measure ingredients while adults handle the icy elements. The reward? A sweet lesson in thermodynamics you can eat.
Making Butter and Other Tasty Transformations
Fill a jar halfway with heavy cream. Shake until the liquid separates into butter and buttermilk – about 10 minutes of vigorous motion. Observe fat molecules clumping through mechanical agitation, creating spreadable results.
Pair your fresh butter with bread to explore yeast’s role in baking. Discuss how fermentation produces carbon dioxide bubbles that make dough rise. These connected activities turn snack prep into a full food science lab session.
Creative Chemical Reactions in the Kitchen
Unlock explosive learning moments through everyday pantry chemistry. Simple combinations reveal dramatic transformations that make molecular interactions tangible and unforgettable.
Acid-Base Fireworks
Combine baking soda and vinegar in creative containers to demonstrate gas production. Pumpkin-shaped eruptions or watermelon “volcanoes” add seasonal flair while teaching neutralization reactions. The fizzing action shows carbon dioxide creation in real time.
| Experiment | Materials | Concept |
|---|---|---|
| Citrus Eruption | Lemon, baking soda | Natural acid reactions |
| Layered Display | Oil, water, food coloring | Density differences |
| Milk Magic | Milk, dish soap | Molecular bonding |
Rainbow Reactions
Carve lemons into colorful eruption stations. Add food coloring to the citrus flesh before sprinkling baking soda. The dual-acid reaction (citric and ascorbic acids) creates longer-lasting foam compared to vinegar mixtures.
Create mesmerizing liquid displays by layering oil and colored water in clear containers. Drop effervescent tablets to simulate underwater lava flows. These visual demonstrations clarify why certain substances resist mixing.
For safer surface interactions, try the milk experiment. Swirl food coloring in a shallow dish of milk, then touch the surface with soap-dipped cotton swabs. The sudden color explosion reveals how molecules attract and repel.
These activities turn molecular behavior into visible spectacles. Children grasp complex concepts through sensory engagement while developing hypothesis-testing skills. The best part? Cleanup requires only common household items.
Engaging Science Lab Projects with Everyday Foods
Discover hidden scientific principles using breakfast staples and snack favorites. Eggs become transformative tools for exploring cellular biology, while sugary treats reveal molecular patterns through crystal formation.
Egg Explorations: Beyond Breakfast
Create a naked egg by soaking shells in vinegar for 24 hours. Watch bubbles form as acid dissolves calcium carbonate, leaving a semi-permeable membrane. Test osmosis by submerging the rubbery result in corn syrup versus water.
Explore density variations with floating tests. Gradually add salt to water until raw eggs hover mid-jar. This visual demonstration helps explain buoyancy and solution concentration.
Sugar Science Made Simple
Grow crystalline structures using supersaturated sugar solutions. Heat water to dissolve maximum sweetness, then suspend strings in the mixture. Observe geometric patterns forming over days, revealing how molecules organize.
Compare candy densities by layering different types in clear containers. Gummy bears versus hard mints create striking visual separations. Track dissolution rates in various liquids to discuss solubility factors.