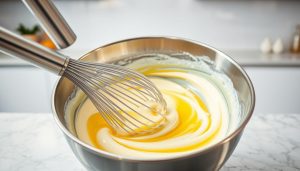
Did you know a single gallon of milk holds enough potential to create 12 distinct cheese varieties through controlled biochemical reactions? This surprising versatility forms the core of modern DIY dairy craftsmanship. By understanding milk’s molecular structure, you can transform basic ingredients into gourmet creations rivaling professional fromageries.
The process revolves around manipulating casein proteins and lactose through precise temperature management. Enzymes like rennet act as biological sculptors, while acidity levels determine textures from creamy brie to crumbly feta. Unlike traditional trial-and-error methods, this approach guarantees predictable outcomes through measurable variables.
You’ll master how calcium content in different milk types affects coagulation rates. Pasteurized versus raw dairy choices create entirely different flavor profiles. Through controlled experiments, you can adjust variables like curd size and aging conditions to design signature products.
Key Takeaways
- Food chemistry principles enable reliable dairy transformations
- Casein proteins form structural foundations through pH manipulation
- Precision temperature control ensures consistent results
- Milk composition directly impacts texture and flavor development
- Scientific troubleshooting prevents common fermentation issues
- Customizable processes allow personalized recipe creation
This evidence-based method demystifies ancient preservation techniques through modern kitchen science. You’ll gain the tools to replicate global cheese styles or invent new varieties, all while understanding the why behind each delicious outcome.
Introduction: The Science and Art of Homemade Cheese
Every spoonful of milk contains microscopic factories waiting to be activated. When guided by scientific principles, these biological systems transform ordinary dairy into extraordinary textures and flavors. This intersection of chemistry and craftsmanship turns your kitchen into a laboratory for edible innovation.
Overview of the Process
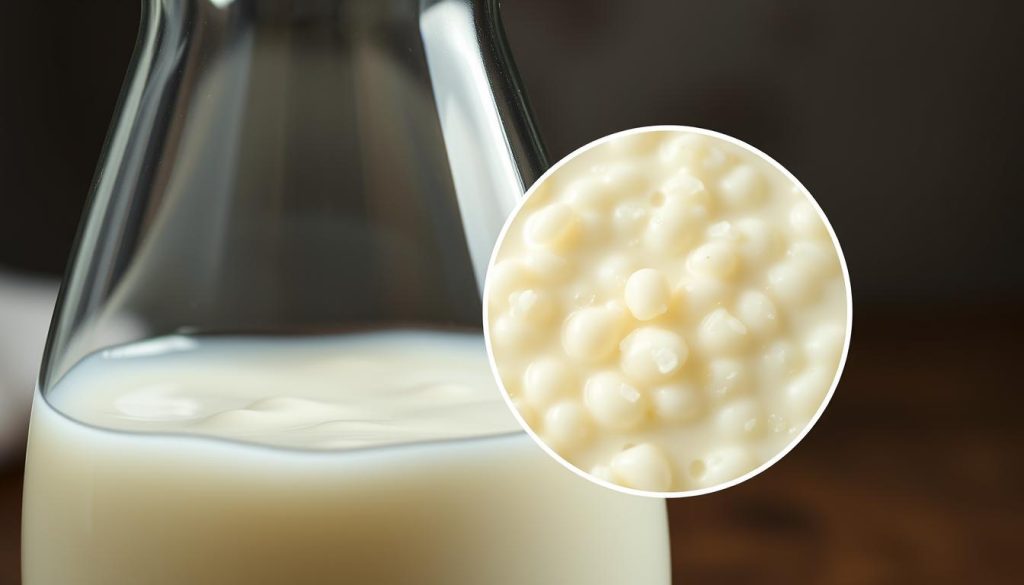
At its core, dairy transformation relies on manipulating milk’s building blocks. Casein proteins form structural networks when exposed to specific acidity levels. Bacterial cultures act as flavor architects, converting lactose into lactic acid while developing unique taste profiles.
Three critical factors control outcomes:
- Temperature precision dictates enzyme activity rates
- pH monitoring ensures proper protein bonding
- Timing adjustments influence moisture retention
The separation of curds from whey marks the first visible success. What appears simple actually involves complex molecular rearrangements perfected through centuries of observation.
Cheese as a Creative Experiment
Your culinary experiments gain direction through measurable variables. Adjusting culture strains can produce anything from tangy cheddar notes to earthy gouda undertones. Even minor temperature shifts during coagulation create textural differences as distinct as ricotta versus halloumi.
Seasoned artisans recommend keeping detailed logs. Track how:
- Different milk sources affect yield percentages
- Aging conditions modify flavor intensity
- Salt quantities impact preservation timelines
This systematic approach removes guesswork while preserving artistic freedom. You become both researcher and artist, decoding milk’s potential through repeatable methods.
Understanding Milk Composition for Cheesemaking
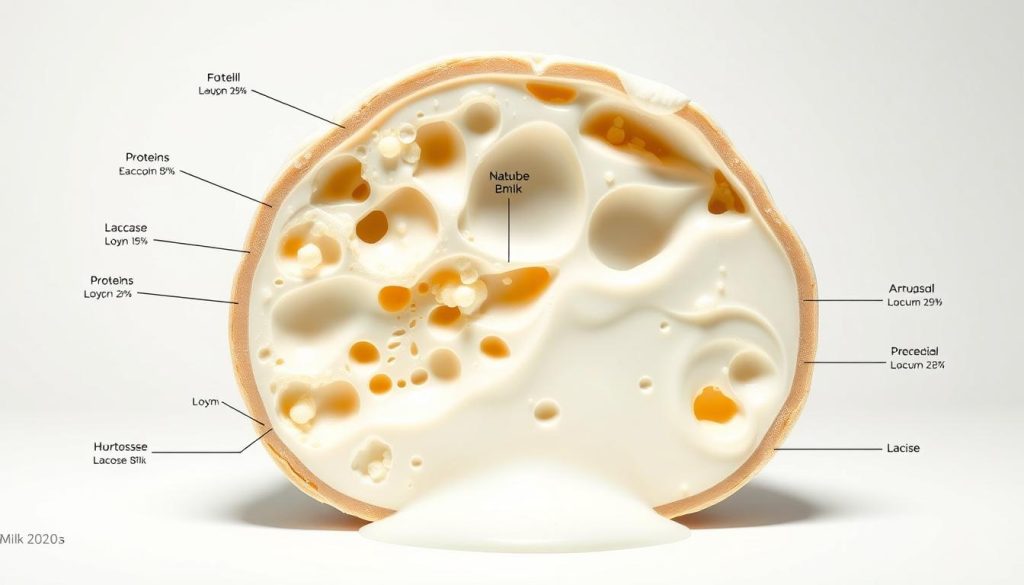
The foundation of exceptional dairy creations lies in milk’s hidden architecture. Four elements—water, fat, proteins, and lactose—combine in precise ratios that dictate your results. Processing methods further shape these building blocks, turning simple liquids into textural masterpieces.
Milk Components: Water, Fat, Protein, and Lactose
Whole cow’s milk contains 88% water, acting as the stage where biochemical transformations unfold. Fat content (3.25%) directly influences creaminess—higher percentages yield richer products like brie. Proteins, particularly casein, create cheese’s skeleton through pH-driven bonding.
Lactose serves dual purposes. This natural sugar (4.8%) feeds bacterial cultures during fermentation while influencing acidity levels. Minerals like calcium (0.7%) strengthen protein networks—a critical factor many overlook.
Effects of Pasteurization and Homogenization
Store-bought milk undergoes two transformative processes. Pasteurization’s heat treatment alters calcium availability, often requiring calcium chloride supplements for proper curd formation. Homogenization breaks fat globules into uniform particles, affecting moisture retention in finished products.
Raw milk alternatives preserve natural calcium structures but require careful sourcing. Low-fat versions reduce yield and texture complexity. By understanding these modifications, you can adjust techniques to match your milk’s history.
Exploring the Role of Acids and Enzymes in Curd Formation
At pH 5.5, milk undergoes a molecular transformation that turns liquid into solid gold for cheesemakers. This critical threshold triggers casein proteins to shed their negative charges and form the foundation of all dairy textures. Two powerful agents drive this change: hydrogen ions from acids and specialized enzymes.
The Function of Citric Acid and Vinegar
Acids act as nature’s demolition crew, breaking down milk’s electrical barriers. When you add lemon juice or vinegar, hydrogen ions neutralize casein’s negative charges. This allows proteins to clump into delicate curds. Citric acid creates milder flavors, while vinegar introduces subtle tanginess.
Rennet works differently. This enzyme targets specific bonds in casein proteins like molecular scissors. It builds stronger networks without requiring extreme acidity. Combined approaches yield superior results:
- Acid-only methods produce fragile cheeses like paneer
- Enzyme-enhanced techniques create firmer textures for aged varieties
- Hybrid systems allow customized moisture control
Timing proves crucial. Add acid too quickly, and you’ll get grainy curds. Introduce rennet late, and separation becomes incomplete. Use pH strips or meters to track progress precisely. Ideal coagulation occurs between 5.2-5.5 pH for most fresh cheeses.
Master these chemical tools, and you’ll solve common textural issues. Over-acidification causes rubberiness, while insufficient enzyme activity leads to weak structures. Adjust ratios based on milk type and desired outcome—each variable opens new creative possibilities.
Selecting Quality Milk and Culture Products
Your dairy masterpiece begins long before the first curd forms—it starts at the milk selection stage. Freshness and handling practices determine whether proteins remain intact for optimal bonding. Microbial quality shapes both safety and flavor complexity, turning simple ingredients into culinary gold.
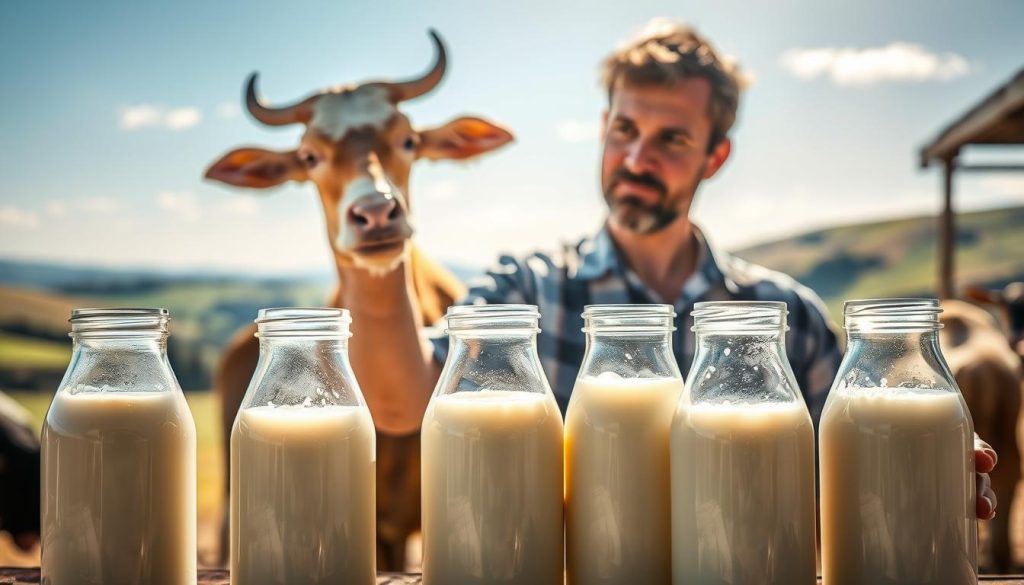
Raw vs. Pasteurized Milk Considerations
Raw milk enthusiasts praise its natural enzymes and calcium structure for developing bold flavors. However, pasteurized options reduce bacterial risks while requiring calcium chloride supplements to compensate for heat-altered minerals. Ultra-pasteurized varieties remain unusable—their extreme processing destroys protein networks essential for coagulation.
Homogenization impacts results differently. This process creates uniform fat distribution but weakens curd density. For richer texture, choose non-homogenized versions where cream naturally separates. Higher fat content (4-6%) yields creamier outcomes, while skim milk produces crumbly results.
| Factor | Raw Milk | Pasteurized |
|---|---|---|
| Safety | Requires trusted source | Lower risk |
| Flavor Depth | Complex profiles | Milder tones |
| Calcium Needs | Natural balance | Often needs additives |
Liquid rennet outperforms tablet forms in consistency, especially for delicate cheeses. Store cultures below 40°F to maintain potency. Always check expiration dates—old products fail to activate properly, wasting your efforts.
Conduct freshness tests before starting. Fresh milk smells slightly sweet, not sour, and shows no separation when swirled. Proper cold storage (34-38°F) preserves quality for up to 72 hours post-purchase.
Cheesemaking Equipment: Tools for Success
Successful creations require more than just ingredients—they demand the right tools. Precision instruments transform your kitchen into a controlled site for dairy alchemy. Each device serves specific functions that directly impact texture, flavor, and consistency.
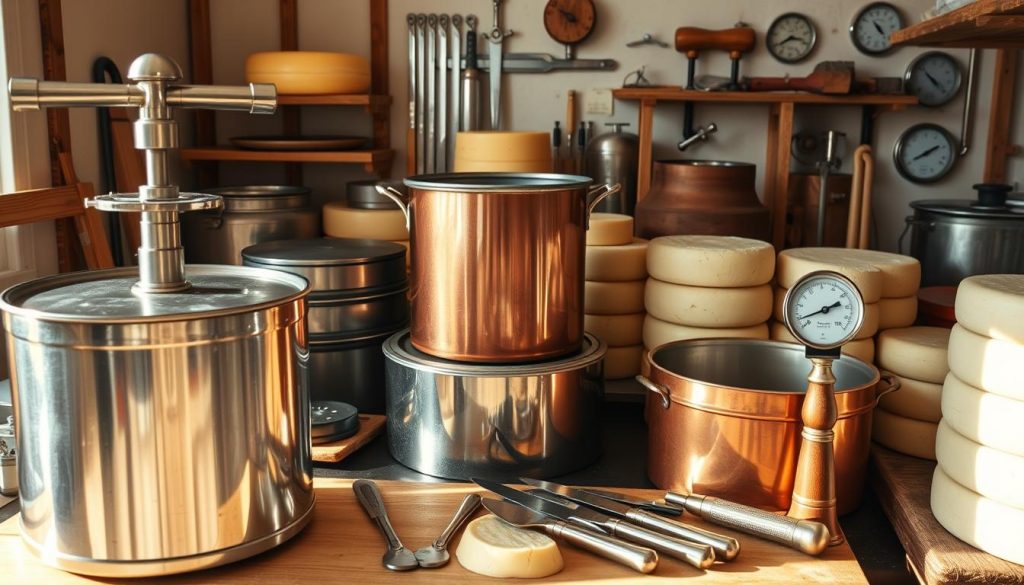
Essential Tools for Precision Crafting
A digital thermometer with 40-165°F range becomes your truth-teller. It ensures perfect temperature control during critical phases like culturing and coagulation. Pair it with a 5-quart double boiler to apply gentle heat without scorching milk proteins.
Long-handled spoons and spatulas protect hands while stirring. They prevent curd damage during delicate separation phases. Accurate measuring cups and spoons deliver exact enzyme quantities—even 1/8 teaspoon variances alter outcomes.
Your filtration site needs two components: a quart strainer and breathable cheesecloth. This duo separates curds from whey efficiently while retaining moisture balance. Non-reactive molds then shape the cheese, controlling drainage during pressing.
Don’t overlook the digital timer. Consistent intervals between steps create reproducible results. Store tools in dedicated water-resistant containers to maintain hygiene between batches. Proper organization transforms any workspace into an efficient dairy lab.
For cleanup, use filtered water to rinse equipment—mineral deposits affect future batches. Sterilize all tools post-use, especially wooden items prone to bacterial growth. With this setup, your culinary site becomes a precision workshop for edible innovation.
Step-by-Step Guide to Making Soft Cheese at Home
The journey from milk to smooth-textured results requires exact thermal management and timed actions. Proper workspace organization forms the foundation for success, while precise measurements ensure repeatable outcomes.
Workspace Readiness Essentials
Sanitize all surfaces and tools with food-grade cleaner before starting. Arrange your digital thermometer, cheesecloth, and vinegar mixture within arm’s reach. This prevents temperature drops during critical phases.
Thermal Precision Methods
Heat the milk gradually to 176°F (80°C) over 20 minutes – rapid increases denature proteins. Maintain this range while stirring gently to distribute warmth evenly. Add the acid blend in slow, circular motions when the dial hits target numbers.
| Step | Action | Key Factor |
|---|---|---|
| 1 | Milk heating | 20-minute ramp to 176°F |
| 2 | Acid integration | 5% vinegar in distilled water |
| 3 | Curd monitoring | Semi-clear whey appearance |
Watch for matting curds that stretch slightly when pulled. Filter through breathable fabric immediately after separation – delayed draining causes moisture imbalance. Record each batch’s timing details to refine future attempts.
Delving into Specific Cheese Recipes
Three foundational methods unlock countless flavor possibilities. These approaches demonstrate how slight adjustments in technique yield dramatically different textures and tastes.
Queso Blanco Essentials
This heat-acid recipe requires no cultures. Heat milk to 185°F, then stir in 1/4 cup vinegar per gallon. Curds form instantly – drain through cheesecloth for 2 hours. A teaspoon of salt per pound enhances freshness.
Crafting Queso Fresco
Similar to its white cousin but pressed lightly. Use 50% vinegar and 50% lime juice in your acid mixture. This creates crumbly curds perfect for sprinkling on tacos. Age 24 hours in brine for tangier profiles.
Cream Cheese Variations
Introduce mesophilic cultures for richer spreads. Maintain 72°F during 12-hour fermentation. Blend drained curds with cream for silky textures. Experiment with mix-ins like herbs or honey after the base sets.
Each recipe serves as a template for innovation. Adjust acidity levels, pressing times, or aging conditions to develop signature creations. Document modifications to replicate successful batches consistently.
