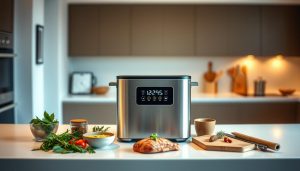
Imagine transforming tough beef into fall-off-the-bone tenderness in under an hour. Modern kitchen tools achieve this using a method rooted in physics: trapped steam accelerates heat transfer. The USDA confirms this approach slashes energy use by up to 70% compared to conventional ovens.
This appliance locks in moisture, creating intense heat that breaks down fibers rapidly. You’ll turn budget-friendly ingredients into gourmet dishes without babysitting the stove. From dried beans to whole grains, meals that once took hours now finish while you set the table.
Beyond speed, it preserves vitamins often lost during boiling. A Harvard study notes leafy greens retain 90% more nutrients when prepared this way. You also avoid added oils, making heart-healthy meals effortlessly.
Key Takeaways
- Reduces active cooking time by up to two-thirds
- Lowers energy costs compared to standard appliances
- Transforms inexpensive meats into premium textures
- Built-in safety mechanisms prevent accidents
- Preserves up to 90% of sensitive nutrients
- Eliminates the need for excessive fats or oils
- Simplifies meal prep for beginners and experts alike
Introduction to the World of Pressure Cooking
Unlocking the potential of everyday ingredients starts with the right tools. This kitchen essential uses controlled steam environments to revolutionize meal preparation, turning lengthy recipes into quick weekday solutions.

Understanding the Basics of Pressure Cooking
A sealed pot traps vapor, creating intense heat that works faster than conventional methods. Water boils at higher temperatures under containment, speeding up the process significantly. Tough meat fibers soften in minutes rather than hours, while grains like barley cook evenly without constant stirring.
| Aspect | Traditional Method | Pressure Method |
|---|---|---|
| Cooking Time | 2-3 hours | 35-45 minutes |
| Nutrient Retention | 60-70% | 85-95% |
| Energy Use | High | Low |
The Benefits of Cooking with Steam
Delicate vegetables retain their vibrant colors and crisp textures through gentle vapor exposure. Unlike boiling, which drains nutrients into water, this approach locks in vitamins. You’ll also save energy – tests show these appliances use 50% less power than standard stovetops.
From creamy risottos to flaky fish fillets, the technique adapts to diverse recipes effortlessly. Even desserts like cheesecake achieve perfect consistency when using specialized settings. Modern units include safety locks and automatic shutoff features for worry-free operation.
Essential Tips for Using Your Pressure Cooker
Your kitchen’s most efficient tool demands proper care to perform at its peak. Modern units come equipped with multiple safeguards, but their effectiveness depends on your maintenance routine. A well-maintained appliance ensures quick meal prep and eliminates risks associated with high-temperature vapor.

Preparing and Checking Your Equipment
Before firing up your cooker, inspect the sealing ring for cracks or food residue. Debris in the valve openings can disrupt pressure regulation, leading to uneven results. Test the lid’s locking mechanism—it should engage smoothly without forcing.
| Maintenance Task | Frequency | Key Benefit |
|---|---|---|
| Gasket inspection | Before each use | Prevents steam leaks |
| Valve cleaning | Monthly | Ensures safety |
| Lid washing | After each use | Avoids odor buildup |
| Parts replacement | As needed | Maintains efficiency |
Hand-wash the lid with warm soapy water, removing the gasket for thorough cleaning. Never submerge the entire lid or use abrasive cleaners. Check manufacturer guidelines about dishwasher safety for the pot—some models tolerate machine washing, while others require hand care.
After drying all components, store the lid upside down on the pot. This prevents moisture buildup and preserves the gasket’s shape. Track part wear—replace stiffened seals or cloudy valves promptly through official suppliers.
Pressure Cooking: How Steam Powers Dinner – The Science Behind It
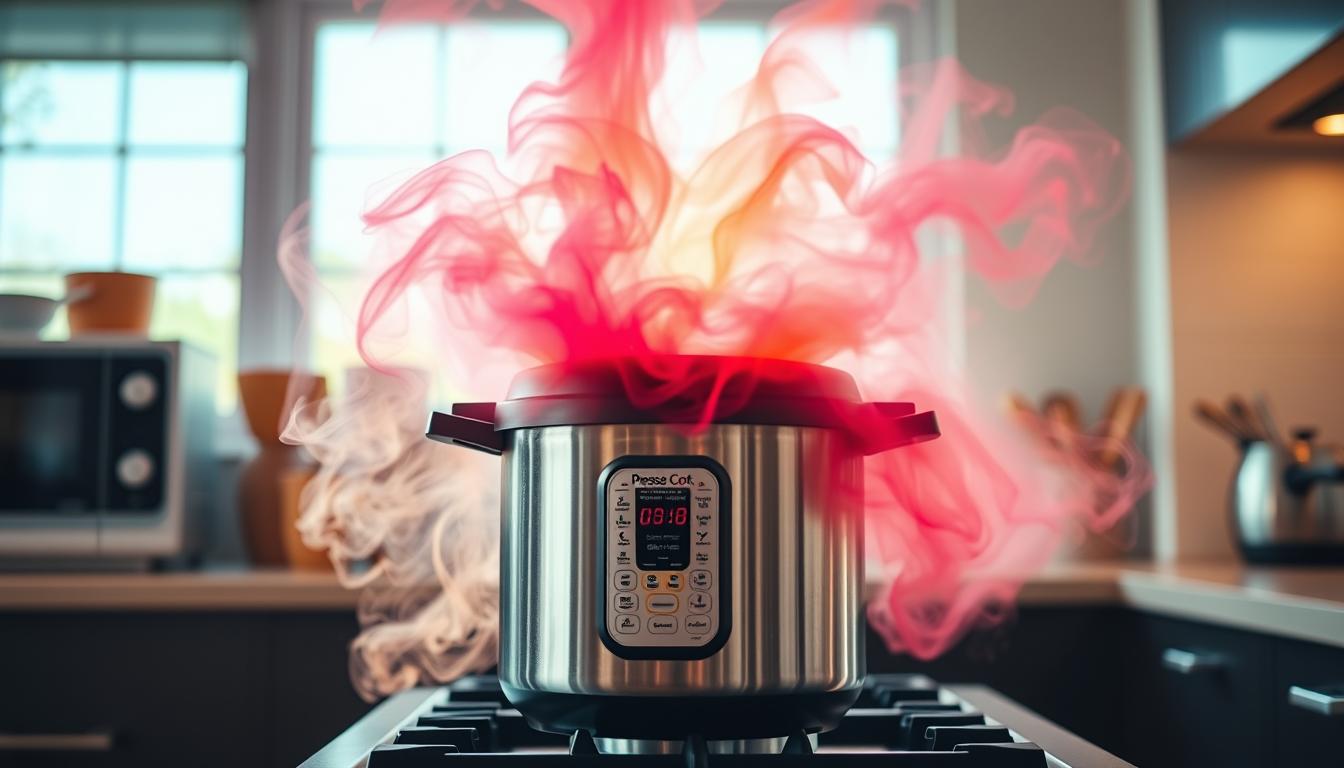
Sealed environments create culinary magic through precise physics. When you add water to your appliance, it becomes the engine driving rapid transformations. The process hinges on two elements: vaporized moisture and controlled containment.

How Steam Creates Pressure and Heat
Liquid turns to vapor when heated, but trapped steam can’t escape. This increases internal force by 15 pounds per square inch (psi) in most models. Higher pressure raises water’s boiling point from 212°F to 250°F—the secret behind faster results.
| Food Type | Minimum Liquid | Max Fill Level |
|---|---|---|
| Grains/Rice | 1 cup | ½ pot |
| Meats | ½ cup | ⅔ pot |
| Soups/Stews | 1 cup | ½ pot |
The Critical Role of Liquid in Pressure Cooking
Your appliance needs moisture to function. Without enough water, steam generation fails completely. Manufacturers specify minimums because proper vapor formation prevents overheating and ensures safety.
Traditional recipes often require adjustments. Since sealed systems prevent evaporation, you’ll typically use 25% less broth or water. Always stay above your model’s stated requirements—ignoring this risks uneven results or equipment damage.
Fill lines inside the pot aren’t suggestions. For soups, stop at the halfway mark. With solid ingredients, two-thirds capacity maintains optimal airflow. These limits let vapor circulate properly while preventing messy overflows.
Flavor Enhancement: Browning and Pre-Cooking Techniques
Transform bland ingredients into flavor-packed meals with smart prep techniques. While your appliance excels at fast results, a few extra steps unlock restaurant-quality depth. Proper preparation bridges the gap between basic meals and memorable dining experiences.

Elevating Flavor with Browning Techniques
Searing meat creates the Maillard reaction – a chemical process that develops rich flavors and golden crusts. Heat oil in your pot first, then cook beef or poultry until caramelized. This step adds complexity that vapor alone can’t achieve.
| Technique | Flavor Depth | Texture | Time Required |
|---|---|---|---|
| Browning | High | Crispy exterior | +5-7 minutes |
| No Browning | Basic | Uniform | 0 extra minutes |
Pre-cook onions and garlic until fragrant to release essential oils. Spices like cumin or paprika gain intensity when toasted briefly. These layers build flavor foundations before you add liquid.
Timing and Ingredient Preparation
Cut vegetables and meat into uniform pieces for even results. Chunk-sized carrots and potatoes cook at matching rates. For stews, add beef first – its longer cooking time ensures perfect tenderness.
Introduce delicate items like peas or spinach during the last few minutes. Use quick-release functions to pause cooking when adding ingredients. This method preserves textures while maintaining efficiency.
Pro tip: Skip browning when rushed, but expect milder flavors. Prioritize sizing consistency over presentation cuts – your taste buds will thank you later.
Mastering Temperature and Cooking Times
Precision separates good meals from exceptional ones. Your appliance’s true power emerges when you balance thermal input with precise timing. This harmony ensures ingredients reach ideal textures while retaining nutrients.
Adjusting Heat for Accurate Pressure Levels
Start by cranking your stove to maximum. This high-heat phase builds pressure rapidly—usually within 10-15 minutes. Watch for the indicator pin to rise completely.
Immediately lower the heat to the minimum setting that keeps the pin elevated. Gas and induction users enjoy easier adjustments. Electric stove owners often use two burners: one hot, one low. This prevents overcooking from residual heat.
| Ingredient Type | Typical Cooking Time | Heat Adjustment |
|---|---|---|
| Vegetables | 2-5 minutes | Low after pressure |
| Tough Meats | 20-45 minutes | Medium-low after pressure |
| Grains | 5-10 minutes | Low throughout |
Managing Natural and Quick Pressure Releases
Three release methods give you control over doneness. Natural release (10-15 minutes) works best for meats and stews. Quick valve release stops cooking instantly for delicate items like fish.
Cold water baths provide emergency speed but risk warping lids. Never force the lid open—wait until the pressure indicator drops fully. Undercook slightly if unsure; you can always reseal for extra minutes.
Remember: cooking times shrink by 50-70% versus conventional methods. A 3-hour braise becomes 45 minutes. Chicken stock reduces from 6 hours to 90 minutes. Your patience gets rewarded with flavor-packed efficiency.
A Guide to Versatile Recipes and Meal Ideas
Your appliance becomes a global kitchen when you explore its recipe potential. Discover how diverse cuisines and dietary preferences align with rapid preparation methods. From Sunday suppers to meat-free Mondays, create restaurant-worthy results without complex techniques.
Hearty Meat Stews and Savory Rice Dishes
Chuck roast and brisket shred effortlessly after 45 minutes under pressure – no chewy bits. Layer carrots and potatoes beneath meat chunks for complete meals. Brown rice soaks up broth in 22 minutes, while white varieties achieve fluffiness in six.
Try Korean-inspired short ribs with quick-pickled veggies. The high heat renders fat perfectly while infusing ginger and garlic flavors. For weeknights, one-pot jambalaya combines sausage, chicken, and rice with Creole spices.
Exploring Vegetarian and Seafood Options
Lentils transform into creamy dal in 15 minutes – no overnight soaking. Toss broccoli florets in during the last three minutes to preserve crunch. Pro tip: Use vegetable broth instead of water for deeper flavor in meatless chili.
Delicate proteins shine too. Add prawns to lemon-pea risotto after pressure release. They’ll cook gently in residual heat without turning rubbery. Mussels steam open in four minutes with white wine and herbs – faster than traditional methods.