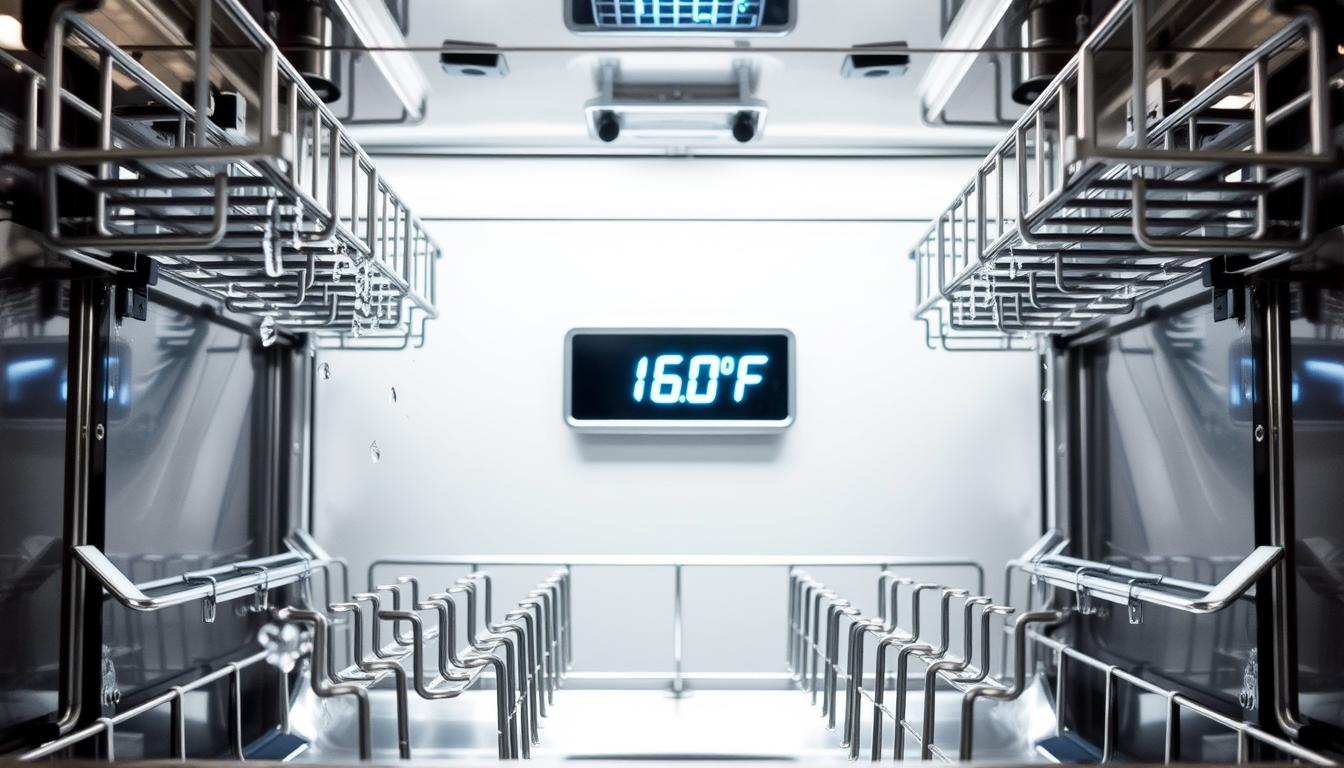
Most people don’t realize their kitchen appliance heats water to 180°F – hotter than the average hot spring. This extreme heat isn’t accidental. It’s engineered to eliminate 99.9% of common pathogens lurking on dishes.
Residential models typically hit 130-140°F during regular cycles. But the real magic happens in sanitize mode, where temperatures soar to 170°F+. Commercial units go even further, using 165-180°F rinse cycles to meet food safety codes.
Your machine’s internal heater works separately from your home’s water supply. This ensures proper heat levels even if your water heater isn’t set to maximum. The right settings turn your appliance into a microbial warzone, destroying threats like Salmonella and E. coli.
This guide breaks down how heat interacts with different materials and pathogens. You’ll discover how to balance hygiene with energy efficiency – without melting your favorite plastic containers.
Key Takeaways
- Standard cycles reach 130-140°F, while sanitize modes exceed 170°F
- Built-in heaters boost water temperature beyond household settings
- High heat eliminates common foodborne pathogens in minutes
- Commercial units use 165-180°F rinses for regulatory compliance
- Proper temperature selection prevents damage to dishware
Understanding Dishwasher Temperatures and Sanitization
Modern cleaning appliances use precise thermal controls to transform ordinary washes into germ-fighting powerhouses. Hidden beneath the racks lies a network of components working together to create the perfect environment for eliminating microbes.

Key Components and How They Work
Your machine pulls water from your home’s supply, but that’s just the start. A heating element at the tub’s base kicks in when incoming liquid isn’t hot enough. This dual-system approach guarantees consistent results – even if your water heater struggles during winter.
The primary heating unit acts like a safety net. It boosts temperatures during special cycles designed for deep sanitization. This process activates detergent enzymes and melts stubborn grease faster than lukewarm water ever could.
Why Temperature Matters for Hygiene
High heat does more than dissolve food scraps. It disrupts bacterial cell structures, stopping pathogens like E. coli in their tracks. Proper thermal levels also speed up drying by turning leftover moisture into vapor.
Without adequate warmth, soap can’t break down oily residues. Cooler cycles leave behind invisible threats while wasting energy on ineffective cleaning. Your appliance’s smart temperature management balances safety with efficiency, protecting both dishes and your household.
How Dishwashers Heat: From Wash Cycle to Rinse Cycle
Your kitchen’s hidden warrior against grime operates through precise thermal engineering. Modern units combine smart sensors with industrial-grade components to create a multi-stage heating system that adapts to different cleaning needs.

Here’s how the process works: First, water enters from your home’s supply line. Built-in sensors check if it meets the required warmth for your chosen cycle. If not, the machine’s secret weapon springs into action.
The Power Behind Clean Dishes
A coiled heating element at the tub’s base activates when incoming liquid falls below optimal temperatures. This metal workhorse boosts water heat up to 40°F during active cycles. Pressurized spray arms then blast every surface with this engineered hot water mixture.
The magic happens in phases:
| Stage | Temperature Range | Duration | Key Function |
|---|---|---|---|
| Initial Wash | 120-140°F | 15-20 min | Loosen food particles |
| Main Wash | 140-155°F | 25-35 min | Activate detergent enzymes |
| Final Rinse | 160-170°F | 5-10 min | Sanitize surfaces |
After scrubbing away debris, the system drains completely. Fresh water enters for the rinse phase, often heated 10-15°F hotter than the wash cycle. This thermal one-two punch removes soap residue while zapping lingering microbes.
Advanced models adjust temperatures automatically based on load type. Heavy-duty cycles might sustain 165°F for 30 minutes, while quick cycles use shorter bursts of lower heat. This flexibility keeps your dishes spotless without wasting energy.
Dishwasher Temps That Kill Bacteria: The Science Behind Sanitization
Thermal sanitization relies on precise heat exposure to dismantle harmful microorganisms. Research shows pathogens begin breaking down at 149°F, but certified units push further for guaranteed safety.

Temperature Ranges and Bacterial Elimination
Heat treatment works by denaturing proteins in bacterial cells. This process becomes effective within specific ranges:
| Temperature | Time Required | Pathogens Eliminated |
|---|---|---|
| 130-140°F | 30+ minutes | Common surface germs |
| 150°F | 2 minutes | E. coli, Salmonella |
| 165°F+ | 15 seconds | Legionella, Norovirus |
The National Sanitation Foundation requires 150°F minimum for certification. This standard ensures machines neutralize 99.9% of microbes during cycles.
How Sanitize Cycles Boost Cleaning Power
Specialized programs use dual-phase heating. First, water reaches 155°F to activate detergent enzymes. A final rinse then spikes to 170°F, destroying remaining germs.
Extended duration matters as much as heat. These cycles maintain critical temperatures for 10-15 minutes – enough time to penetrate biofilm layers. Combined with pressurized sprays, this creates a hostile environment for pathogens.
You’ll notice sanitize modes take longer but leave surfaces sterile. They’re ideal for cutting boards, baby bottles, or during flu season when germ exposure increases.
Optimizing Wash and Sanitize Cycles for Deep Cleaning
Your appliance’s full potential lies in matching cycle types to specific cleaning challenges. While standard programs handle daily messes, strategic upgrades to intensive modes tackle stubborn threats.

Choosing the Right Cycle Based on Load
Regular cycles efficiently remove food particles and grease from plates used for everyday meals. These programs balance water use with heat levels ideal for standard soiled items. Reserve them for lightly used cookware and glassware needing quick refreshes.
Sanitize cycles become essential when handling biohazards like raw poultry juices or sickroom utensils. The extended 1.5-hour runtime combines intense heat with prolonged exposure – a combination that eradicates 99.999% of pathogens. Use this mode monthly to purge hidden bacteria in rubber seals and filters.
| Load Type | Recommended Cycle | Duration |
|---|---|---|
| Daily dishes | Regular | 1-2 hours |
| Baby bottles | Sanitize | 2.5+ hours |
| Cutting boards | Sanitize | 2.5+ hours |
Energy-conscious users alternate between modes based on contamination risks. Heavy holiday meal prep demands sanitization, while weekday breakfast plates fare well in standard washes. This approach prevents unnecessary resource drain while maintaining hygiene standards.
Ideal Temperature Settings for Effective Cleaning
Mastering thermal control transforms routine washing into a science. The right balance eliminates grime while preserving delicate items – if you know how to navigate the heat spectrum.
Best Temperature Range for Regular Washes
For daily loads, aim for 130-140°F water temperature. This sweet spot activates detergent enzymes and melts grease without compromising plastic containers. Most units maintain this range automatically during standard cycles.
Lower settings (120-125°F) work for lightly soiled glassware but struggle with baked-on food. Higher heat accelerates chemical reactions – every 18°F increase doubles cleaning speed. Just remember:
- China and metal cookware thrive at 140°F
- Rubber seals degrade above 150°F
- Protein-based stains need sustained warmth
When to Use Higher Temperatures
Boost to hotter water (160-180°F) for three scenarios:
- After handling raw meat or eggs
- During flu season or illness outbreaks
- When cleaning medical equipment
Commercial kitchens use 165°F minimum for code compliance. Home models achieve similar results through extended rinse cycles. “The final 10°F makes all the difference – it’s where true sanitization happens,” notes NSF certification guidelines.
Always check manufacturer labels before cranking up heat. High temperatures can warp plastic lids and melt adhesive decorations. Balance hygiene needs with material limits for lasting results.
DIY Maintenance: Cleaning and Sanitizing Your Dishwasher
Your appliance needs regular care to stay efficient. Over time, food particles and soap scum build up, reducing performance. Simple monthly treatments keep it running like new while protecting your dishes.
Natural Methods Versus Chemical Cleaners
White vinegar tackles mineral deposits naturally. Pour one cup into a container on the top rack, then run a hot cycle. This eco-friendly solution dissolves buildup without harsh fumes.
For stubborn mold, bleach offers strong antimicrobial action. Use ½ cup in a bowl placed upstairs. Avoid this method if you have stainless steel interiors – it can cause corrosion.
Step-by-Step Deep Cleaning
Start by removing debris from the filter. Wipe the door seal with vinegar to prevent mildew. For thorough sanitizing:
1. Place cleaning tablets in the detergent dispenser
2. Select the hottest cycle
3. Let the machine cool before wiping interior surfaces
Specialized Cleaners Made Easy
Pre-packaged options like Affresh dissolve grease fast. These tablets work best when used monthly. Always check manufacturer guidelines to make sure compatibility with your model.
Consistent care prevents odors and maintains water flow. Pair treatments with weekly wipe-downs of the top rack and spray arms for peak results.