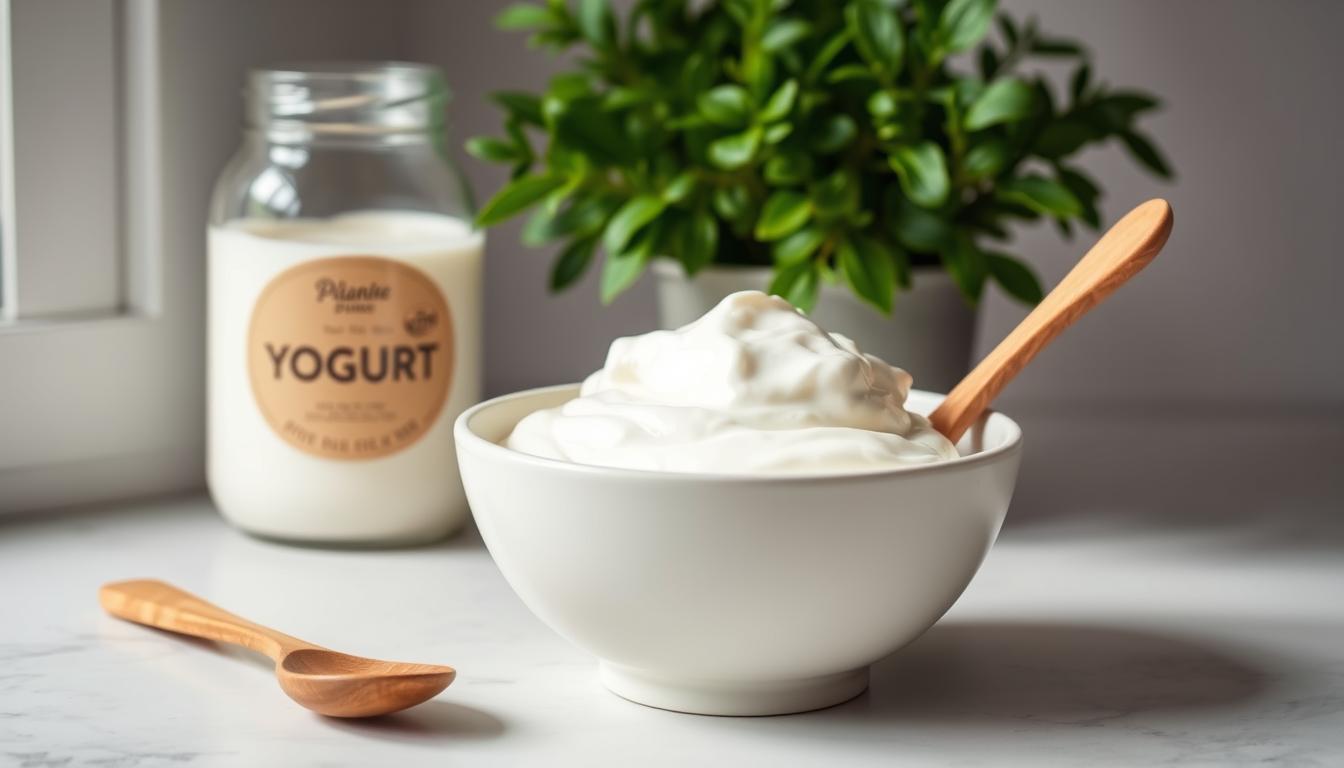
While store shelves overflow with endless yogurt options, few realize one gallon of milk creates the same quantity at home for under $4. This simple transformation turns ordinary dairy into a creamy, probiotic-packed superfood using tools already in your kitchen.
Contrary to popular belief, crafting your own requires no special skills. A thermometer and basic starter culture are all you need to begin. The magic happens during incubation, where live bacteria convert lactose into lactic acid – thickening the milk naturally.
Commercial brands often add stabilizers or excess sugar to extend shelf life. When you DIY, you decide what goes in. Prefer it tangier? Extend the culturing time. Want it creamier? Choose whole milk. This flexibility lets you create a product tailored to your taste and dietary needs.
Key Takeaways
- Requires only milk, starter culture, and basic kitchen tools
- Natural process enhances gut-friendly bacteria without additives
- Customizable texture and flavor profile based on preferences
- Costs 75% less than premium store-bought varieties
- Connects to 5,000-year-old food preservation traditions
Getting Started with Homemade Yogurt
Creating your own creamy dairy staple offers more than just cost savings—it unlocks a nutritional powerhouse tailored to your needs. With minimal equipment and simple techniques, you gain full control over ingredients and health benefits.

Why Your Kitchen Beats Store Shelves
Homemade versions deliver 40% more protein per serving than many commercial options while preserving natural enzymes. The live cultures in your batch remain active since there’s no pasteurization after culturing. This means better support for digestive health and nutrient absorption.
Thermophilic bacteria like Lactobacillus bulgaricus break down lactose during production. Those with milk sensitivities often tolerate it better than store-bought alternatives. You’ll also get higher calcium levels for bone strength without added thickeners or sweeteners.
The Science of Culturing Success
Bacterial cultures thrive at 110°F, converting milk sugars into lactic acid. This process thickens the texture naturally while boosting B vitamins. Extended fermentation times—up to 12 hours—yield tangier flavors and richer probiotic counts.
Proper temperature management ensures bacteria multiply effectively. Too cool, and cultures remain dormant; too hot, and they perish. Mastering this balance creates consistently smooth results packed with gut-friendly microbes.
Essential Ingredients and Equipment for Yogurt Making
Transforming milk into creamy goodness requires just two components and basic tools. This minimalist approach lets you focus on quality while keeping costs low.

Choosing the Right Milk and Starter Culture
Whole milk delivers superior texture due to its higher fat content. Ultra-pasteurized options work, but avoid ultra-high temperature (UHT) varieties – they resist culturing.
| Milk Type | Fat Content | Best For |
|---|---|---|
| Whole | 3.25% | Thick, rich results |
| 2% | 2% | Lighter texture |
| Nonfat | 0% | Low-calorie option |
Your starter determines bacterial diversity. Specialty suppliers like Cultures For Health offer targeted strains, while store-bought versions provide convenience. Use 2 tablespoons per gallon for consistent activation.
Must-Have Kitchen Tools and Alternatives
A digital thermometer ensures precise 110°F temperatures for optimal culture growth. Heavy pots prevent scorching during milk heating.
While yogurt makers simplify incubation, alternatives work beautifully. Try insulated coolers with warm water baths or oven lights. Glass jars with lids maintain cleanliness during the 6-12 hour culturing window.
Remember: Equipment cleanliness impacts success. Always sterilize containers and utensils before starting your batch.
How to Heat Milk Correctly for Yogurt
Mastering milk temperature transforms ordinary dairy into velvety yogurt. This critical step shapes both safety and texture through precise thermal control. Let’s examine the techniques that turn liquid into the perfect bacterial canvas.

Temperature Guidelines and Safety Tips
Use medium heat to heat milk gradually in a heavy-bottomed pan. Stir every 2 minutes to prevent scorching. Target 180°F – hot enough to steam but not boil.
A digital thermometer ensures accuracy during this phase. Overheating destroys proteins, while underheating leaves competing microbes alive. Remove from heat immediately when reaching the target temperature.
The Science Behind Heating and Protein Denaturation
Heating rearranges milk’s molecular structure. Whey proteins unfold at 165-180°F, creating a mesh that traps water molecules. This process – called denaturation – gives yogurt its signature thickness.
Pasteurization occurs simultaneously, eliminating unwanted bacteria. Your starter culture then dominates during incubation. Skipping this step risks thin results and inconsistent fermentation.
DIY Incubation Methods for Perfect Culturing
Your kitchen holds hidden tools for maintaining the ideal 108°F environment needed for culturing success. While specialty equipment exists, everyday items often work better for creating consistent warmth without extra costs.

Harnessing Household Heat Sources
Oven lights provide surprising precision for steady incubation. Wrap jars in towels and place them inside with only the bulb active. Gas stove users benefit from residual pilot light warmth, creating a stable microclimate.
Heating pads offer another reliable option. Set to low and covered with a folded cloth, they maintain target temperatures for 6-8 hours. Rotate jars occasionally for even heat distribution.
Creative Container Solutions
Try these effective alternatives:
- Slow cookers: Create a water bath using the “keep warm” setting
- Insulated thermoses: No power needed – retains heat for 12+ hours
- Appliance zones: Shelves near water heaters or electronics cabinets
One enthusiast shares: “My winter coat closet became the perfect incubation zone during cold months.” Test different approaches to find what works best with your routine and space constraints.
Fermentation Fun: Make Yogurt at Home
The secret to perfect homemade yogurt lies in balancing heat and patience during the culturing phase. Maintain your mixture between 108-110°F to create a cozy environment where cultures multiply efficiently. This sweet spot lets beneficial bacteria thrive while converting milk sugars into creamy textures.
Your culturing duration determines both texture and flavor. Eight hours yields a mild, spoonable base, while 24-hour batches develop zesty sharpness and pudding-like thickness. Longer periods allow more lactose breakdown – great for those sensitive to dairy.
Consistent warmth matters more than clock-watching. Fluctuating temperatures stall bacterial activity, leading to runny results. One enthusiast notes: “My best batch cultured for 18 hours near the water heater – tangy perfection!”
Check readiness by tilting the jar. Properly set yogurt stays firm with slight wobbling. Taste-test after 8 hours, then every 2-3 hours until satisfied. Remember: refrigeration stops the process, so decide when you’ve reached your ideal balance.
This flexible approach lets you control outcomes without compromising safety. Whether you prefer silky-smooth or extra-tart results, time and steady heat transform simple ingredients into probiotic-rich creations.
Detailed Step-by-Step Guide to Yogurt Making
Begin by combining cultures properly for optimal results. Proper technique ensures even bacterial distribution and consistent texture throughout your batch.
Mixing the Starter with Warm Milk
Start with 1 cup of cooled milk (105-110°F) in a separate bowl. Whisk in 2-4 tablespoons of your chosen culture until fully dissolved. This step prevents clumping and activates dormant bacteria.
Pour the mixture back into your main pot, stirring gently for 30 seconds. Ensure every drop gets blended – uneven distribution causes weak spots in culturing. Use a digital thermometer to confirm the warm milk stays within the ideal range before sealing containers.
Determining the Ideal Fermentation Time
Set your jars in a stable 110°F environment. Check thickness after 6 hours by tilting a container – it should cling to the sides without sliding. Most recipes achieve desired consistency within 8-12 hours.
Longer culturing (up to 24 hours) develops sharper flavors and thicker textures. Taste-test hourly once past the 8-hour mark. Remember: Cooling stops bacterial activity, so only refrigerate when satisfied with taste and firmness.