Your blender can create fresh butter faster than you can toast bread. This everyday transformation relies on a simple scientific principle: agitation forces fat molecules in heavy cream to cluster, separating from liquid to form rich, spreadable butter. With 36-40% fat content, this dairy staple holds the perfect ratio for success.
When you whip or shake cream, fat globules collide and rupture. Their released fats bond into solid masses while leaving behind tangy buttermilk. This physical change requires no special tools – even a sealed jar works. Traditional methods once took hours, but modern appliances reduce active processing time to mere minutes.
Understanding this process empowers you to control texture and flavor. Higher-fat creams yield firmer results, while slower mixing creates smaller butter grains. Whether using a stand mixer or shaking by hand, the core mechanics remain identical across techniques.
Key Takeaways
- Heavy cream requires at least 36% fat content for proper butter formation
- Mechanical agitation causes fat molecules to separate from liquid
- Most methods achieve full separation in under 10 minutes
- Blenders accelerate the process compared to manual techniques
- Leftover buttermilk can be used in baking or cooking
- Temperature control impacts final texture and spreadability
Understanding the Science Behind Butter Formation
Turning cream into butter isn’t magic—it’s a precise scientific reaction triggered by motion. Hidden within every carton of heavy cream lie microscopic structures primed for transformation when energy is applied.

Why Agitation Causes Separation
Mechanical force disrupts cream’s natural balance. Fat molecules float in liquid milk within protective globule membranes. Vigorous shaking or blending fractures these barriers, forcing fats to collide and bond.
Initially, agitation traps air bubbles—creating whipped cream. Continue mixing, and the structure collapses. Released fats form solid clusters while watery buttermilk separates. This critical phase shift occurs faster with higher-fat content.
The Role of Fat Globules in Cream
Each fat globule acts like a tiny storage unit. Their sturdy membranes prevent premature merging. Heavy cream’s 36-40% fat content provides enough material to create stable butter grains during agitation.
Lower-fat alternatives lack sufficient concentrated fats. The remaining liquid contains proteins and sugars, explaining why skim milk can’t achieve similar results. Proper fat concentration ensures complete separation between solids and liquids.
Tools, Ingredients, and Preparation
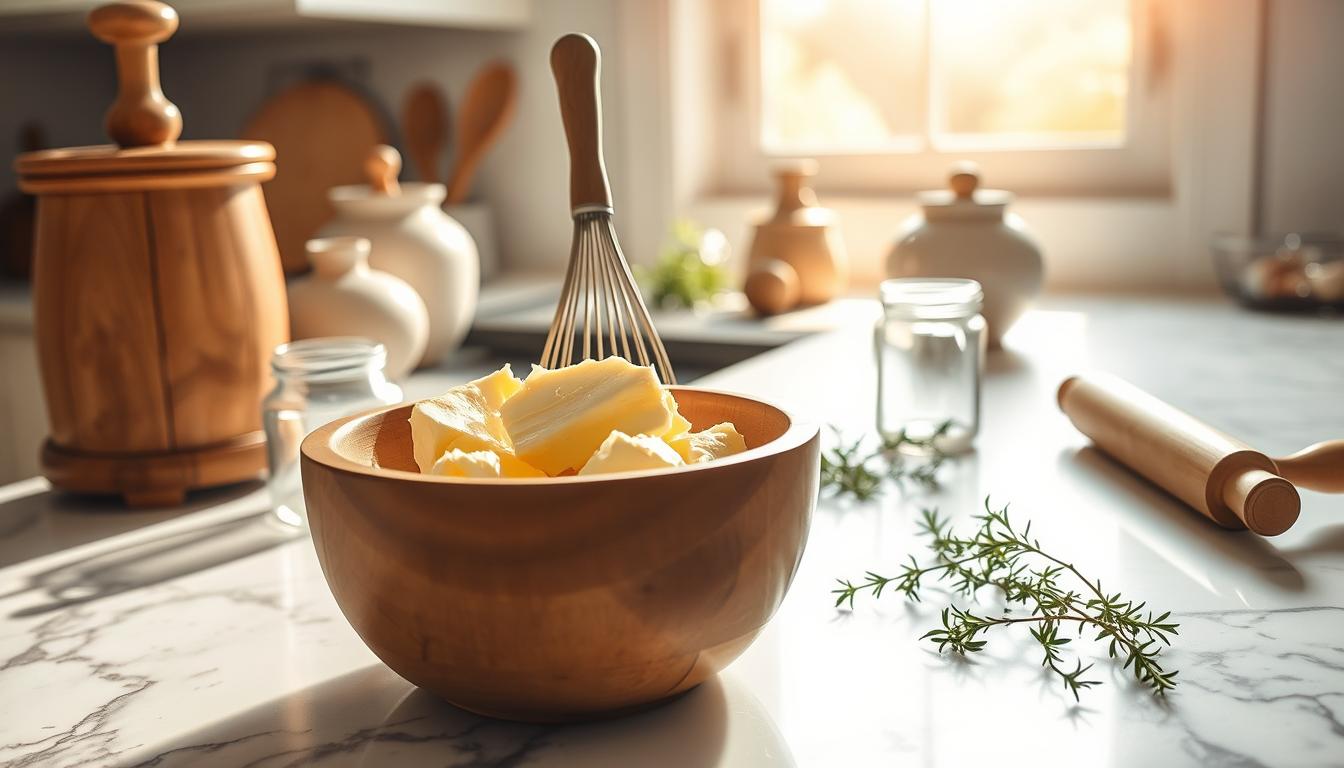
Successful butter-making begins with smart preparation. Gather your tools and ingredients before starting to ensure a smooth process. The right setup minimizes mess and maximizes efficiency.

Essential Kitchen Equipment and Setup
Your primary tool depends on preferred method. A blender works fastest, containing splashes with its lid. Stand mixers offer hands-free operation, while a mason jar creates an engaging activity for groups.
You’ll need multiple bowls – one large mixing bowl for washing and smaller containers for storage. A fine-mesh strainer separates solids from liquids effectively. Keep kitchen towels nearby for spills and kneading.
Required Ingredients and Their Roles
High-fat dairy forms the foundation. Heavy whipping cream (36-40% fat) is non-negotiable. Two cups typically yield one stick of butter. Salt enhances flavor but remains optional – start with ⅛ teaspoon per batch.
Ice water proves critical during washing. It removes residual buttermilk, preventing spoilage. Flavorings like herbs or honey can be added after separation. Store finished products in airtight containers for freshness.
How Whipping Cream Turns into Butter
Transforming dairy into golden spreadables requires just two components: motion and patience. Modern kitchen tools streamline this age-old technique, letting you achieve professional results without specialized skills.

Step-by-Step Process with a Blender or Mixer
Start by pouring two cups of heavy whipping cream into your appliance. Set blenders to medium-high speed – you’ll witness three distinct phases within five minutes. First, liquid becomes fluffy peaks. Next, yellow chunks form as buttermilk splashes against the container. Finally, solids fully separate from the liquid.
Electric mixers follow similar patterns but take longer. Maintain medium-high speed for 12-15 minutes, scraping sides periodically. Stop when you see clear separation between butterfat and milky liquid.
Alternative Methods Using a Jar or Hand Mixer
For manual approaches, fill a mason jar halfway with cream. Shake vigorously for two minutes until thickened. Rest briefly, then resume shaking until the mixture suddenly breaks apart – this dramatic shift happens in under five minutes total.
Hand mixers offer portability but require endurance. Beat continuously for 8-10 minutes, watching for texture changes. All methods share the critical final step: straining buttermilk immediately to prevent sogginess.
- Blender users save time with 5-minute processing
- Jar shaking provides visual feedback through transparent walls
- Electric appliances allow multitasking during longer runs
Tips, Tricks, and Variations for Homemade Butter
Perfecting your butter-making skills involves more than just separation—mastering post-processing steps ensures superior quality and flavor. These finishing touches transform basic dairy solids into a versatile kitchen staple.
Essential Post-Processing Techniques
Rinse fresh butter solids in ice water to remove lingering buttermilk. Knead the mass like dough, changing water 5-7 times until it stays clear. This critical step prevents spoilage and extends shelf life.
Pat dried butter with clean towels before adding salt or flavorings. Start with 1/8 teaspoon per 2 cups of original cream—mix thoroughly for even distribution. Store finished products in airtight containers to maintain freshness.
| Storage Method | Duration | Best For |
|---|---|---|
| Refrigeration | 7 days | Daily use |
| Freezing | 6 months | Long-term storage |
| Room Temperature | 2 days | Immediate consumption |
Two cups of cream yield one stick of butter plus a cup of fresh buttermilk—perfect for pancakes or baking. For creative twists, blend in herbs during kneading or whip with honey for spreadable texture. Frozen portions maintain quality for months when wrapped in parchment.
Conclusion
Creating homemade butter reveals the magic of kitchen science through simple, rewarding steps. By agitating heavy whipping cream, you unlock two valuable ingredients: rich golden spread and tangy buttermilk. This hands-on process works equally well with high-speed appliances or basic tools, making it accessible for all skill levels.
Involving family members transforms the activity into an educational experience. Children marvel as liquid cream thickens, then suddenly splits into solid butter and milky liquid. The yield—one stick plus a cup of buttermilk from two cups of cream—enhances breakfast favorites like pancakes or toast.
Store your fresh dairy product in an airtight container for up to a week, or freeze portions for later use. Note that homemade buttermilk differs from store-bought versions—add a teaspoon of lemon juice per cup when using it in baking recipes.
This timeless food preparation method connects modern kitchens to culinary traditions while offering customization options. Adjust salt levels, blend in herbs, or experiment with whipping times to craft your ideal spread. The journey from cream to finished product demonstrates how everyday ingredients hold extraordinary potential.
With minimal equipment and maximal creativity, you’ll master a technique that elevates meals and sparks curiosity. Whether seeking cost-effective alternatives or fresher flavors, this process delivers satisfying results every time.