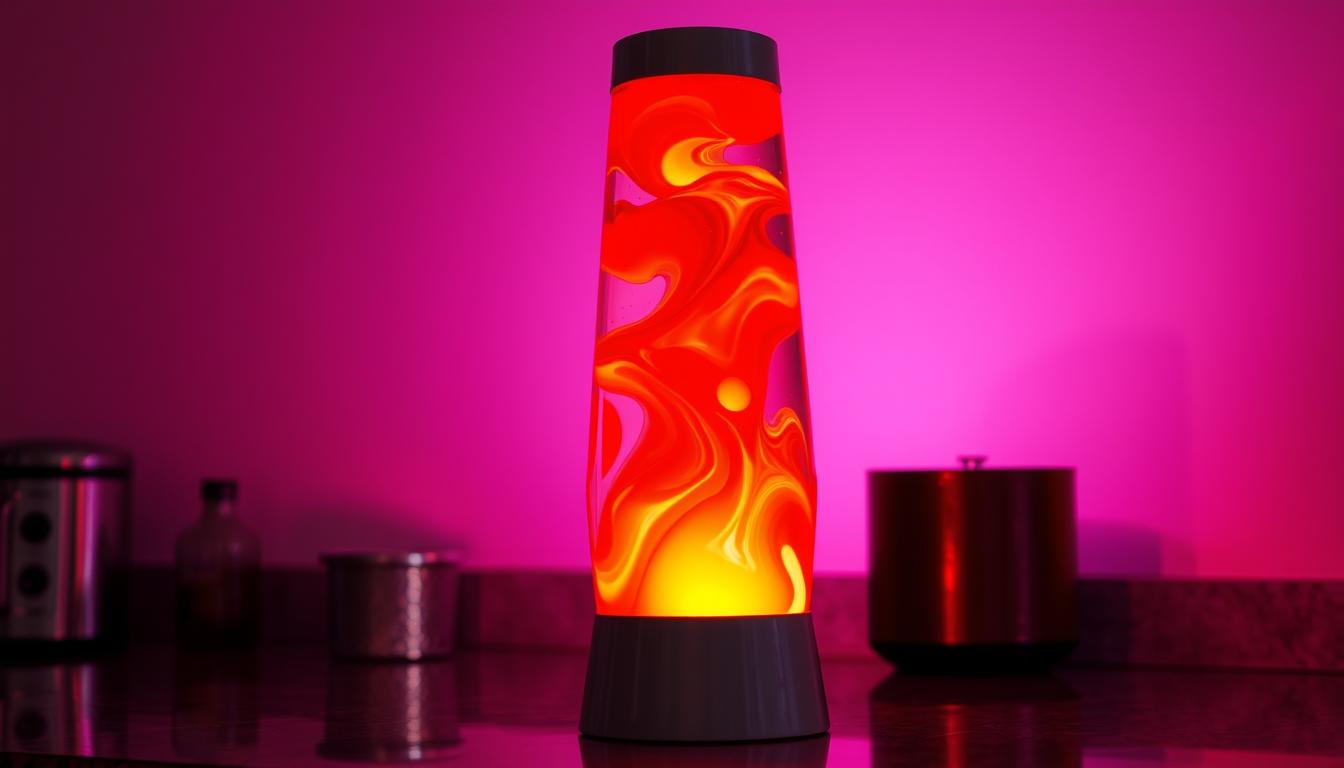
Did you know the mesmerizing swirls in commercial liquid motion devices rely on density differences 300 times smaller than those between cooking oil and water? This precise balance allows blobs to rise and fall hypnotically without fully mixing – a phenomenon you can recreate safely using household items.
Store-bought versions combine specialized fluids that respond to subtle temperature changes. When warmed, the denser base liquid expands just enough to float upward before cooling and sinking again. But there’s a clever twist: homemade alternatives bypass heat entirely. By introducing effervescent tablets, you trigger a chemical reaction that mimics this dance through gas bubbles.
Understanding why oil and water refuse to blend reveals core scientific principles. Polar molecules in water form tight bonds, while non-polar oil molecules cluster separately. This natural separation becomes your greatest ally when crafting DIY versions. You’ll manipulate these properties to create safe, educational displays that fascinate observers of all ages.
Key Takeaways
- Commercial devices use carefully matched fluid densities for continuous motion cycles
- Polar/non-polar liquid interactions prevent mixing in both professional and DIY versions
- Heat drives movement in store-bought models; chemical reactions power homemade alternatives
- Kitchen-friendly experiments offer safer exploration of fluid dynamics
- Observing bubble patterns teaches practical lessons about molecular behavior
Getting Started with Your DIY Lava Lamp Experiment
Creating mesmerizing liquid displays requires just five common items and a dash of curiosity. Let’s transform everyday supplies into a captivating science project that demonstrates fluid dynamics in action.

Gathering Essential Materials
You’ll need a tall transparent container – recycled jars or plastic bottles work perfectly. Fill it three-quarters full with vegetable oil, leaving space for water. The oil’s thickness creates slow-moving blobs when combined with lighter liquids.
Add food coloring to tap water until it reaches your preferred intensity. Darker shades like blue or purple produce striking contrasts. Break effervescent tablets into quarters – one piece can power multiple reactions.
| Material | Purpose | Pro Tip |
|---|---|---|
| Clear container | Visual observation | Use labels-free jars |
| Vegetable oil | Base liquid layer | Room temperature works best |
| Food coloring | Contrast enhancement | Mix colors for gradients |
Setting Up Your Workspace
Choose a flat surface near a light source. Cover the area with newspaper for easy cleanup. Position your flashlight at container level to highlight rising bubbles. Keep extra tablets nearby – reactions last about 20 minutes per piece.
Younger scientists should have adult help when handling breakable containers. Test different oil types later – start with standard vegetable oil for predictable results. This setup lets you observe polarity differences through dancing droplets.
Kitchen Lava Lamps: Oil vs. Water – Understanding the Science Behind the Magic
The secret behind those swirling blobs lies in fundamental scientific principles you encounter daily. Three key factors work together to create this hypnotic display: molecular structure, density relationships, and gas production.

Density, Polarity, and Chemical Reactions Explained
Water’s higher density creates the foundation for separation. A single cup weighs 30% more than the same volume of vegetable oil. This difference forces the heavier liquid to sink while lighter substances float.
Polar water molecules act like tiny magnets, sticking tightly to each other. Nonpolar substances can’t break these bonds, making them hydrophobic. This molecular mismatch explains why oil forms distinct layers instead of mixing.
How Heat and Carbon Dioxide Drive the Movement
Effervescent tablets trigger a chemical reaction when dissolved. They release carbon dioxide gas that clings to water droplets. The gas-water combo becomes less dense than surrounding oil, launching it upward.
At the surface, bubbles burst and release CO₂ into the air. Freed from the gas, the dense water sinks again. This continuous cycle creates the rising-falling motion that captivates observers.
You’re witnessing the same gas that fizzes in soda and escapes when you exhale. Each bubble’s journey demonstrates how density changes affect buoyancy – a core concept in fluid dynamics.
Step-by-Step Instructions to Create Your Homemade Lava Lamp
Transform household items into a mesmerizing science project with this straightforward process. Follow these precise steps to achieve optimal bubble formation and long-lasting reactions.

Preparing the Water, Oil, and Food Coloring
Start with a clean glass container. Fill it halfway with room-temperature water to create a dense base layer. Add 4-5 drops of food coloring – the liquid will absorb the pigment instantly due to shared molecular properties.
Slowly pour vegetable oil until it reaches 1 inch below the rim. Watch as the liquids separate into distinct layers within seconds. This clear division forms the foundation for your dynamic display.
Activating the Reaction with Effervescent Tablets
Break antacid tablets into quarters using clean hands or pliers. Drop one piece into the container and observe immediate gas production. The tablets release carbon dioxide that clings to colored water droplets, creating upward movement.
For extended observation sessions, add new tablet fragments every 15 minutes. This maintains consistent bubble formation without overwhelming the system.
Observing and Recording the Transformation
Note how gas bubbles carry colored liquid toward the surface before releasing their payload. Use a flashlight placed behind the container to highlight the rising blobs. Track reaction duration and bubble patterns in a notebook.
When activity slows, simply introduce another tablet piece. Store your mixture in a cool place between uses – the separated liquids remain viable for multiple experiments.
Experimenting with Variables: Exploring Oil Variants and Additives
Unlocking new dimensions in your fluid dynamics project starts with simple substitutions. By swapping materials and adjusting conditions, you’ll witness dramatic changes in how substances interact – revealing hidden scientific relationships.
Comparing Different Types of Cooking and Baby Oils
Baby oil’s smooth consistency creates elegant, slow-moving bubbles that linger at the surface. Thinner options like sunflower oil produce rapid bursts of activity – perfect for studying quick density shifts. Test these variations side-by-side:
| Oil Type | Bubble Speed | Visual Effect |
|---|---|---|
| Baby Oil | 2-3 sec/drop | Large, floating spheres |
| Canola | 1-2 sec/drop | Medium-sized clusters |
| Sunflower | 0.5-1 sec/drop | Fast-moving streams |
Thicker oils increase buoyancy resistance, making gas bubbles work harder to reach the top. This mimics professional-grade displays more closely than thinner alternatives.
Enhancing Visual Appeal with Food Coloring and Flashlight Effects
Transform your experiment into an art installation using strategic lighting. Position flashlights at 45-degree angles to create dramatic shadows within rising bubbles. Darkened rooms amplify color intensity – try purple and green combinations for neon-like effects.
“The right lighting reveals hidden vortex patterns within each carbon dioxide bubble cluster.”
For multi-layered displays, add different food coloring drops to separate sections of water before pouring oil. The reusable mixture maintains its properties through multiple trials, letting you test endless combinations.
Conclusion
Your homemade creation reveals core scientific concepts through captivating motion. By manipulating density relationships between common liquids, you’ve demonstrated why heavier substances sink while lighter ones rise. This hands-on approach makes abstract principles tangible without complex equipment.
The experiment’s reusable nature lets you test theories repeatedly. Observe how gas production alters buoyancy when tablets dissolve. Watch colored streams climb until bubbles burst at the surface – then sink as density resets.
This educational activity builds critical thinking through variable testing. Swap materials to see how viscosity affects movement speeds. Document patterns to predict future reactions – essential skills in scientific inquiry.
Safe for all ages, these displays prove learning thrives through interactive exploration. The same principles govern ocean currents and weather systems, showing how foundational knowledge applies beyond your container.