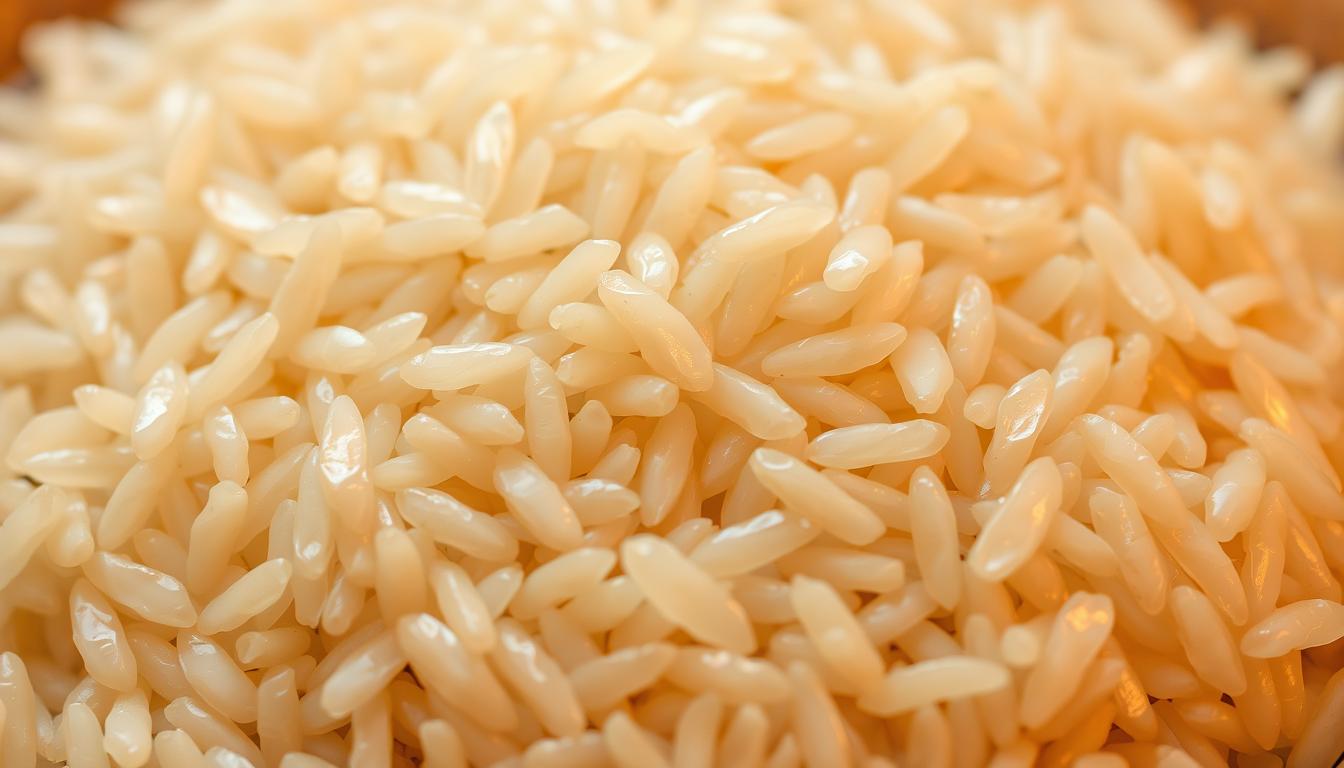
Every year, over 3 million tons of rice travel across the U.S., but few realize how this journey affects their dinner plates. As grains bump against each other during shipping, their surfaces lose tiny starch particles. This invisible coating transforms how rice behaves in your pot.
When you cook rice, heat activates the starch layer. The grains swell and release sticky compounds that bind them together. This natural process explains why some varieties clump more than others.
Storage conditions also play a role. Humidity and temperature changes alter starch density on grain surfaces. Understanding these factors helps you control the final texture of your dish.
Key Takeaways
- Surface starch determines rice stickiness during cooking
- Transportation methods impact grain surfaces before cooking
- Environmental factors influence starch behavior
- Starch content directly affects final dish texture
- Proper techniques can manage clumping issues
Understanding the Science of Rice and Starch
At the heart of every perfectly cooked rice dish lies a scientific dance between starch molecules and water. These natural compounds determine whether your grains stay separate or cling together like old friends at a reunion.

How Starch Influences Rice Texture
Rice contains two starch superheroes: amylose and amylopectin. The first acts like a bodyguard, keeping grains firm and separate. The second plays matchmaker, creating that signature sticky texture when heated. Short grain varieties pack 80-90% amylopectin, explaining their glue-like behavior in sushi rolls.
“The amylopectin molecules unfold like origami in hot water, forming a molecular net that traps neighboring grains.”
The Role of Rice Varieties in Stickiness
Not all rice performs the same kitchen magic. Compare these popular types:
| Type | Amylose Content | Texture |
|---|---|---|
| Short Grain | 10-15% | Sticky |
| Medium Grain | 15-20% | Tender |
| Long Grain | 22-25% | Fluffy |
Processing methods alter starch availability. Fresh white rice releases starch faster than aged grains, while parboiled versions retain more structure. Your cooking water becomes a starch activation bath – too much heat turns it into superglue.
Importance of Rinsing Rice Before Cooking
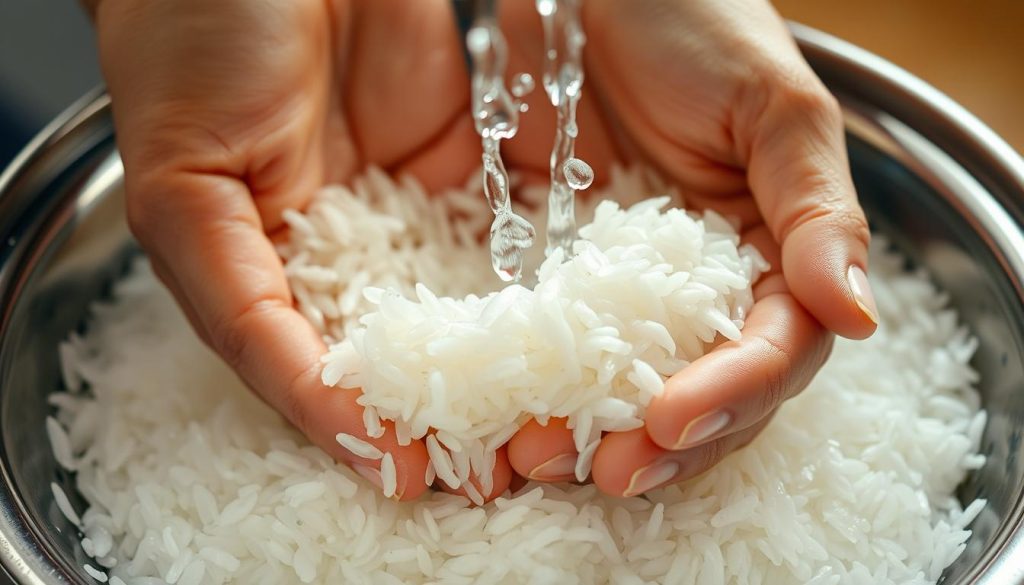
The secret to fluffy rice starts long before it hits the stove. That cloudy water swirling around your grains isn’t just dirt – it’s excess starch clinging to every kernel. Removing this coating ensures your final dish stays light and separated.
Removing Excess Starch for Fluffy Grains
Cold water acts like a power washer for rice. As you rinse, it strips away the starchy residue formed during processing and transport. This prevents gummy textures by stopping starch molecules from bonding during cooking.
Techniques for Effective Rinsing
Use either a fine-mesh strainer or mixing bowl. Swirl grains gently with your fingers while running cold water. Repeat 3-4 times until the liquid turns clear – this signals maximum starch removal.
| Method | Steps | Key Benefit |
|---|---|---|
| Bowl Technique | Submerge rice, agitate, drain | Better starch suspension |
| Strainer Method | Rinse under steady stream | Faster results |
Never skip this step, even with “pre-washed” varieties. Proper rinsing reduces cook time inconsistencies and helps grains expand uniformly. Your efforts here directly translate to restaurant-quality results at home.
Perfecting the Rice-to-Water Ratio
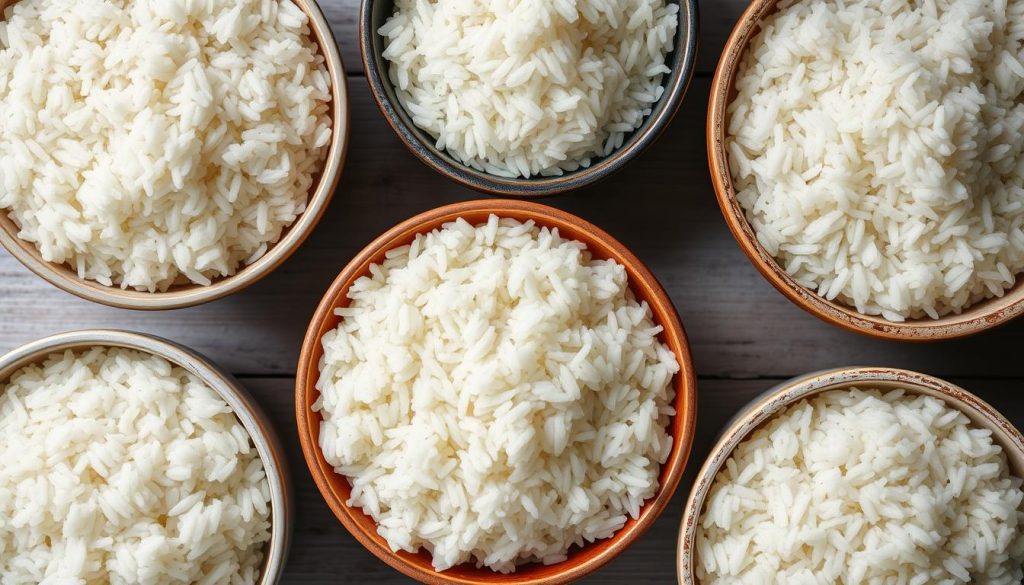
Your kitchen scale might be the unsung hero in your quest for flawless rice. Precise measurements create the foundation for distinct grains that hold their shape without clumping. The right balance between rice and liquid determines whether your pot yields fluffy perfection or a sticky mess.
Guidelines for Different Rice Types
Short grain white rice thrives with a 1:1 ratio – one cup rice to one cup water. Its high starch content requires minimal hydration. Long grain white rice needs more space, using 1.25 cups water per cup of grains. This extra liquid prevents premature starch activation while allowing full expansion.
Consider these adjustments for common varieties:
| Type | Rice (1 cup) | Water |
|---|---|---|
| Jasmine | 1 cup | 1.5 cups |
| Basmati | 1 cup | 1.75 cups |
| Sushi | 1 cup | 1 cup |
Altitude and humidity change absorption rates. At high elevations, add 2 tablespoons extra water per cup. In damp climates, reduce liquid by 1 tablespoon. Always use the same measuring cup for both ingredients to maintain ratio integrity.
Pot size matters more than you think. A 3-quart saucepan works best for 2-3 cups dry rice. Too much space lets steam escape; too little causes boil-overs. Tight-fitting lids trap essential moisture – if yours wobbles, wrap the rim with foil before covering.
“Ratios are guidelines, not laws. Watch for steam holes forming on the surface – that’s your cue to check doneness.”
Mastering the Stove Top Cooking Process
Your stovetop transforms into a culinary laboratory when cooking rice. Precision in equipment selection and temperature control separates clumpy disasters from flawless grains.
Selecting the Right Pot and Lid
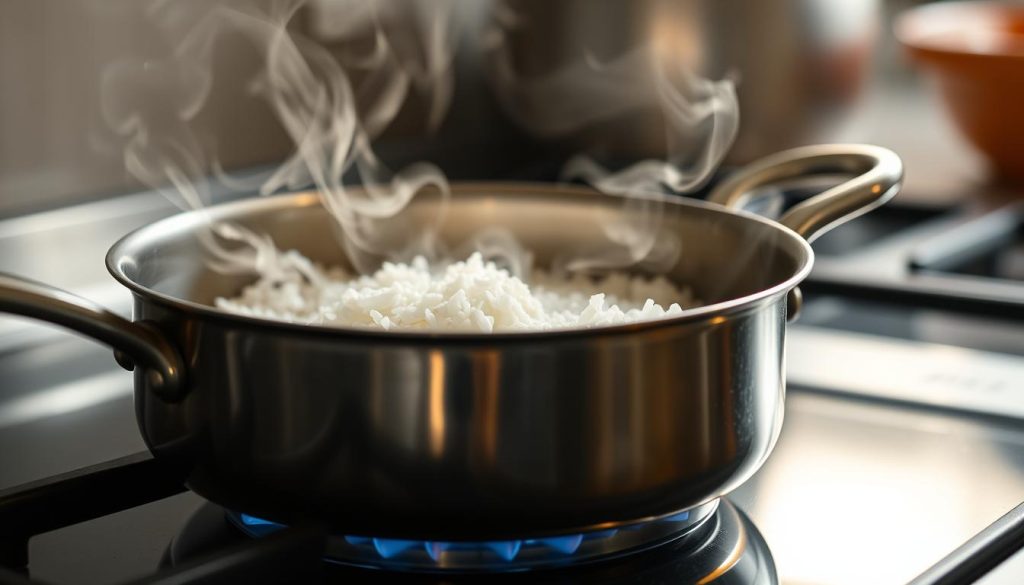
Choose a heavy-bottomed pot to distribute heat evenly and prevent scorching. Stainless steel or enameled cast iron works best. The lid should create an airtight seal – test it by shining light around the edges. No gaps mean proper steam retention.
Adjusting Heat and Timing
Start with high heat until boiling, then immediately reduce to low. Set a timer for 18-20 minutes – resist lifting the lid. “Peeking releases precious steam,” warns Chef Elena Martinez. Let rice cook undisturbed to develop perfect texture from bottom to top.
Importance of the Resting Period
After cooking, remove the pot from the stove. Place a clean towel under the lid for 15-20 minutes. This critical phase allows residual steam to redistribute while absorbing excess moisture. Grains separate effortlessly when fluffed with a fork.
| Stage | Action | Duration |
|---|---|---|
| Boiling | High heat | 2-3 mins |
| Simmering | Low heat | 18-20 mins |
| Resting | Off heat | 15-20 mins |
Troubleshooting Sticky Rice and Common Mistakes
Even experienced cooks face rice mishaps despite careful preparation. The difference between fluffy perfection and a clumpy disaster often lies in recognizing early warning signs during cooking.
Overcooking and Underestimating Water Needs
Burnt bottoms and mushy textures signal water ratio errors. Too little liquid leaves grains stuck to your pot, while excess water turns them soggy. Watch for these visual cues:
| Mistake | Effect | Fix |
|---|---|---|
| Over-stirring | Releases excess starch | Use fork to fluff |
| High heat | Uneven cooking | Simmer immediately |
| No resting time | Dense grains | Wait 15 minutes |
Rescue overcooked rice by spreading it on a baking sheet. The air circulation helps evaporate extra moisture. For undercooked grains, add 2 tablespoons of water and steam for 5 more minutes.
“Test doneness by pressing a grain between your fingers – proper texture feels firm yet tender.”
Prevent future issues by using timers and measuring cups. Electric cookers simplify the process with automatic shut-off features. Always account for altitude – higher elevations require longer cooking times.
What Causes Rice to Stick Together
Sticky rice often results from overlooked details in preparation and cooking methods. Three key elements determine whether your grains stay independent or form clumps: starch management, moisture control, and handling techniques.
Critical Factors and Their Impact
Surface starch acts like natural glue when activated by heat. Insufficient rinsing leaves excess powder that binds grains during cooking. Water ratios prove equally crucial – too little liquid causes uneven expansion, while too much creates a starchy soup.
| Factor | Impact | Solution |
|---|---|---|
| High starch content | Creates gummy texture | Rinse 3-4 times |
| Incorrect water | Uneven cooking | Use measuring cups |
| Over-stirring | Releases starch | Fluff with fork |
| No resting time | Trapped moisture | Wait 15 minutes |
Practical Solutions for Separating the Grains
Rescue sticky results by adding 1 tablespoon of water or oil per cup of cooked rice. Cover and steam for 5 minutes to revive texture. Always use a fork instead of a spoon – the tines gently separate without crushing.
For severe clumping, spread rice on a baking sheet. The exposed surface allows excess moisture to evaporate. This method works particularly well when making egg fried rice, helping achieve the perfect dry texture for frying.
“Proper fluffing technique makes all the difference. Lift from the bottom and shake gently – don’t press or smash.”
Prevent future issues by using the right pot size and avoiding premature lid removal. Let grains rest off heat before serving to complete the cooking process naturally.
Conclusion
Mastering rice texture requires balancing science and technique in your kitchen. By controlling starch through thorough rinsing and precise water ratios, you create the foundation for distinct grains. Heat management and resting time complete the process, allowing steam to work its magic without creating glue-like bonds.
Your tools matter as much as your methods. A heavy pot with a tight lid maintains even cooking, while using a fork instead of a spoon preserves grain structure. Remember – patience during the 15-minute rest period lets excess moisture escape, preventing clumps.
Consistent results come from understanding how starch content varies between short grain white and long-grain varieties. Apply these principles whether using a rice cooker or stove-top pot. With practice, you’ll adapt recipes to any environment or equipment, turning sticky situations into culinary victories.
