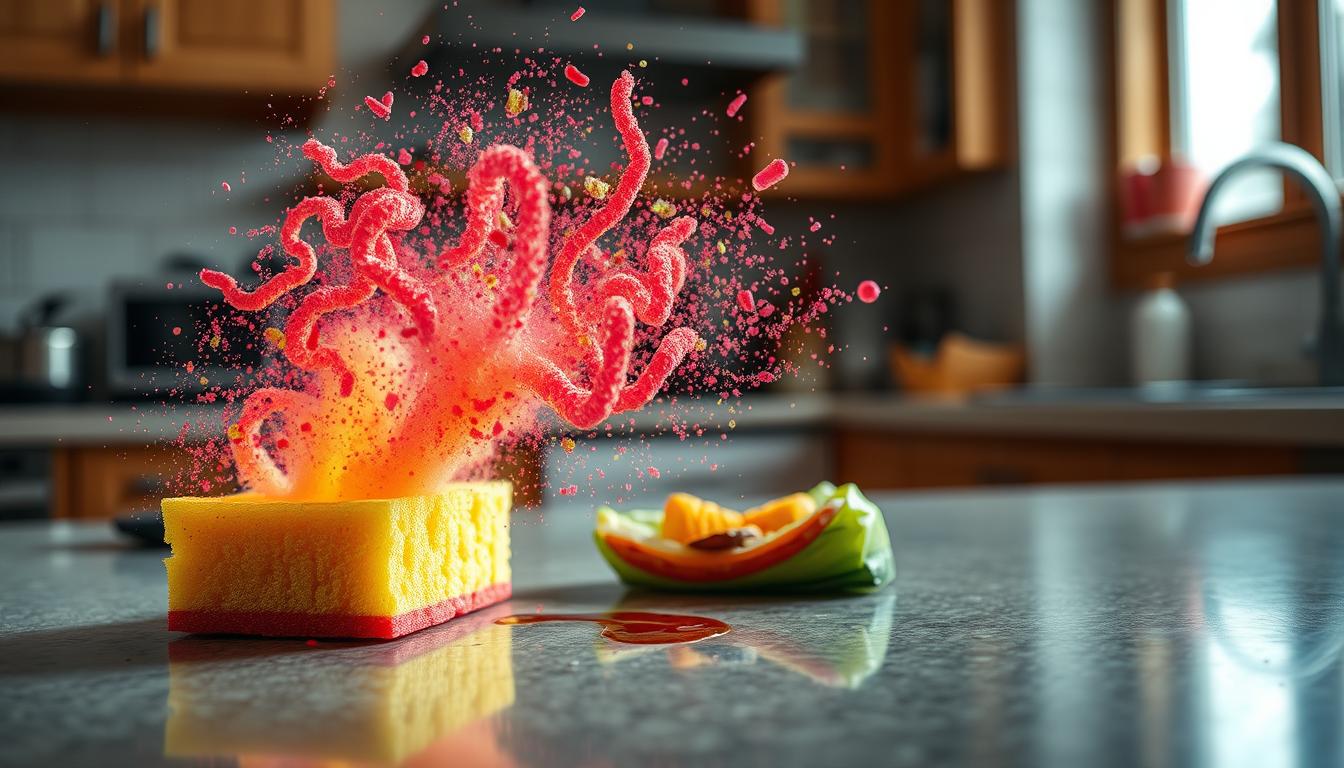
Your kitchen’s most-used cleaning tool hides a dirty secret: a single square inch of its surface can host 10 million bacteria—roughly the population of New York City. This isn’t just about a faint odor. That sour, musty scent signals a thriving ecosystem of microbes feasting on trapped food scraps and moisture.
Every swipe across counters or dishes transfers grease and particles into the sponge’s porous structure. Over time, these residues break down, creating a breeding ground for mold and bacteria. Even rinsing won’t fully remove them, leaving behind invisible contaminants that compromise your kitchen’s cleanliness.
Many assume microwaving or boiling solves the problem, but these methods often fail to penetrate deep layers. The result? A temporary fix that masks the issue without addressing the root cause. Persistent smells indicate it’s time to rethink how you maintain this everyday tool.
Key Takeaways
- Kitchen sponges can harbor millions of bacteria per square inch, rivaling heavily contaminated surfaces.
- Odors stem from decomposing food particles, mold growth, and bacterial colonies.
- Common cleaning methods like microwaving may not eliminate deep-seated microbes.
- Persistent smells signal a need for improved maintenance or replacement.
- Proper care prevents cross-contamination and protects overall kitchen hygiene.
Understanding the Problem: Why Your Sponge Smells Funky
The unseen world thriving in your cleaning tool turns every wipe into a contamination risk. Microscopic organisms multiply rapidly in damp environments, transforming porous materials into active biohazards. Three primary factors create this perfect storm: microbial colonies, organic matter buildup, and chemical residues.
The Science of Bacteria, Mold, and Mildew
These cleaning tools become breeding grounds for harmful microbes. E. coli, Salmonella, and Staphylococcus aureus thrive in warm, moist fibers. Their populations double every 20 minutes under ideal conditions.

Mold spores and mildew settle deep within crevices, feeding on decaying food particles. Metabolic processes release volatile compounds—the source of sour, earthy aromas. Rinsing fails to dislodge organisms entrenched in the material’s structure.
How Food Residues and Soap Build-up Contribute
Each cleaning session transfers grease and food scraps into the porous core. Proteins and carbohydrates break down, fueling microbial growth. This cycle creates a self-sustaining ecosystem within days.
Surprisingly, soap residues worsen contamination. While removing grime from dishes, detergents leave sticky films that trap particles from kitchen surfaces. This layer shields bacteria from rinsing, enabling rapid colony regeneration.
Effective Cleaning Methods to Eliminate Odors
Break the cycle of recurring odors using science-backed cleaning protocols. Proper maintenance combines immediate action after use with weekly deep treatments to disrupt microbial growth cycles.
Daily Rinsing and Sanitizing Techniques
Rinse your cleaning tool under hot running water immediately after wiping counters or dishes. Scrub both sides vigorously to dislodge trapped crumbs and grease. Squeeze repeatedly until no soap bubbles remain.

- Bleach solution: Mix ¾ cup bleach with 1 gallon of water. Soak for 5 minutes
- Microwave: Heat damp tool for 1 minute (ensure it’s wet to prevent fire)
- Dishwasher: Run through a heated dry cycle with detergent
“Microwaving moist sponges eliminates 99% of common kitchen bacteria,” confirms a USDA food safety study.
Deep Cleaning with Vinegar, Bleach, or Hot Water
For stubborn smells, use these intensive treatments weekly:
| Method | Preparation | Contact Time | Effectiveness |
|---|---|---|---|
| White Vinegar | Undiluted | Overnight | Kills 80% bacteria |
| Bleach Solution | 1:9 ratio | 10 minutes | 99.9% elimination |
| Boiling Water | Full rolling boil | 5 minutes | Neutralizes odors |
Vinegar’s acetic acid penetrates fibers to dissolve biofilm colonies. For bleach solutions, always wear gloves and rinse thoroughly. Rotate methods to prevent microbial resistance.
Proper Drying and Storage Practices
A simple squeeze can mean the difference between hygiene and hazard. Complete dryness after each use stops microbes mid-growth cycle, disrupting their reproduction within hours. This critical step requires more than casual wringing—it demands technique and consistency.

Mastering Moisture Removal
Press firmly from multiple angles to force out trapped water. Rotate the scrubber while squeezing to target all crevices. Air drying works best in open spaces with cross-ventilation—near windows or under range hoods. Avoid dark corners where humidity lingers.
Seasonal changes affect drying times. Summer humidity may require placing your kitchen scrubber near AC vents. Winter heating systems can accelerate evaporation when paired with mesh holders. Adjust positions based on daily conditions.
Smart Storage Solutions
Elevated racks outperform flat surfaces by 47% in drying efficiency. Choose holders with slatted designs that expose maximum surface area to airflow. Metal stands resist mold better than plastic alternatives.
Store scrubbers away from sinks and dish racks. A dedicated spot near prep areas keeps tools accessible while maintaining separation from wet zones. This combination of strategic placement and proper technique extends usable time between replacements.
Additional Tips for a Fresher Kitchen
Maintaining a fresh kitchen starts with smart sponge care strategies that go beyond basic cleaning. These proven techniques help disrupt bacterial growth cycles while extending your cleaning tool’s lifespan.
Microwave Method and Other Quick Odor-Killing Tricks
The microwave disinfection technique works best when executed precisely. Soak your scrubber completely before heating it for 60 seconds on high. This creates steam that penetrates deep into fibers, eliminating 99% of common pathogens according to USDA research.
For urgent odor situations, try these alternatives:
| Method | Time | Effectiveness |
|---|---|---|
| White vinegar soak | 15 min | Neutralizes odors |
| Lemon juice + salt scrub | 5 min | Removes grease |
| Hydrogen peroxide dip | 10 min | Kills surface bacteria |
“Microwaving moist sponges daily reduces bacterial load by 87% compared to weekly treatments,” notes a Journal of Environmental Health study.
When to Replace Your Sponge for Optimal Hygiene
Even with perfect care, all scrubbers eventually become microbial hotspots. Replace yours every 14 days, or immediately if you notice:
- Persistent sour odors after cleaning
- Discoloration or crumbling edges
- Reduced absorption capacity
Keep two scrubbers in rotation – use one while the other dries completely. This simple system cuts bacterial regrowth by 62% and helps keep kitchen surfaces safer for food preparation.
Conclusion
A fresh kitchen starts with smart maintenance of your most-used cleaning tool. Consistent daily rinsing paired with weekly deep cleans using bleach solutions or vinegar breaks microbial growth cycles. Proper drying racks and strategic placement away from sinks prove crucial for preventing odors.
Replace dish scrubbers every two weeks—sooner if discoloration appears. This routine prevents mold colonies from becoming entrenched. Rotate between multiple sponges to ensure thorough drying between uses.
Simple habits create lasting results. Squeeze tools thoroughly after washing dishes, store them in ventilated areas, and prioritize hot water rinses. These steps reduce bacterial loads by up to 90% while maintaining cleaning efficiency.
Effective care transforms kitchen hygiene. Clean sponges protect dishes from contamination and keep food prep areas safer. With minimal daily effort, you’ll eliminate odors while extending your scrubber’s lifespan—proving prevention beats rehabilitation every time.