72% of bakers report chocolate tempering as their most frustrating kitchen challenge, despite its critical role in professional confections. This meticulous process separates homemade treats from glossy, snap-worthy desserts that hold shape without refrigeration.
Crafted correctly, tempered cocoa butter forms stable crystals that create a crisp finish. The margin for error? Just 2°F separates success from a dull, crumbly mess. That’s tighter than the temperature range for proofing sourdough.
Mastering this technique unlocks desserts with structural integrity for intricate designs. Properly handled, your creations gain heat resistance for summer events and clean breaks that elevate presentation. You’ll also avoid the white streaks and soft texture that scream “amateur attempt.”
Key Takeaways
- Tempering creates stable cocoa butter crystals for professional-quality finishes
- Temperature control within 2°F determines shine and structural integrity
- Proper technique eliminates refrigeration needs for chocolate creations
- Crystal alignment impacts both visual appeal and mouthfeel
- Mastery enables complex designs without cracking or melting
Understanding What Makes Chocolate Tempering So Tricky
Professional bakers know true mastery lies in transforming melted cocoa into glossy masterpieces. Unlike regular melted bars, tempered chocolate undergoes molecular restructuring. This creates stable crystals that give desserts their signature snap and shine.

Defining Tempered Chocolate
Tempered cocoa products maintain shape at 70°F while untempered versions turn soft. The secret? Six unique crystal forms in cocoa butter. Only Type V crystals produce that professional finish through precise heating and cooling cycles.
The Role of Cocoa Butter and Crystals
High-quality couverture contains 32-39% cocoa butter versus 20% in common candy bars. More fat means better crystal formation. Compare these popular options:
| Product | Cocoa Butter % | Tempering Success Rate |
|---|---|---|
| Couverture | 35% | 92% |
| Grocery Store Bar | 18% | 41% |
| Baking Chips | 24% | 67% |
Brands like Nestlé use stabilizers instead of proper fat ratios. This creates unstable bonds that melt in warm rooms. Properly aligned crystals repel moisture, preventing white streaks called bloom. Test your results: tempered pieces should harden in 3 minutes at 68°F with mirror-like surfaces.
The Science Behind Tempered Chocolate
Behind every glossy chocolate bar lies a hidden molecular ballet. Cocoa butter contains six crystal structures that form during cooling, but only one delivers the snap and sheen professionals demand. Mastering this crystalline chemistry separates waxy failures from shelf-stable showpieces.

Form V Crystals and Their Importance
Type V crystals melt at 93°F – the sweet spot for maintaining shape at room temperature. These tightly packed structures create interlocking networks that resist fingerprints and summer heat. Less stable forms (like Type IV) melt at 82°F, explaining why poorly tempered treats become sticky messes.
Your cocoa percentage matters. Bars with 32-39% cocoa butter provide enough fat molecules to form robust crystal matrices. Cheaper options with vegetable oils sabotage this process, forcing you to fight unstable bonds.
The Exothermic Reaction of Crystallization
As liquid chocolate cools, crystal formation releases heat – enough to rewarm your mixture by 5°F. This thermal backlash often pushes batches beyond the critical 89-91°F working range. Professionals counter this by:
- Stirring constantly to distribute heat evenly
- Using marble slabs for rapid cooling
- Rechecking temperatures every 90 seconds
Understanding this reaction helps prevent recrystallization – the culprit behind gray streaks and gritty textures. Properly managed, your tempered creations will maintain their glass-like finish for months.
Essential Tools and Temperature Guidelines
Your toolkit determines success before melting begins. Precision demands specific gear to manage cocoa butter’s delicate behavior. Let’s explore the non-negotiables for consistent results.

Selecting the Right Equipment
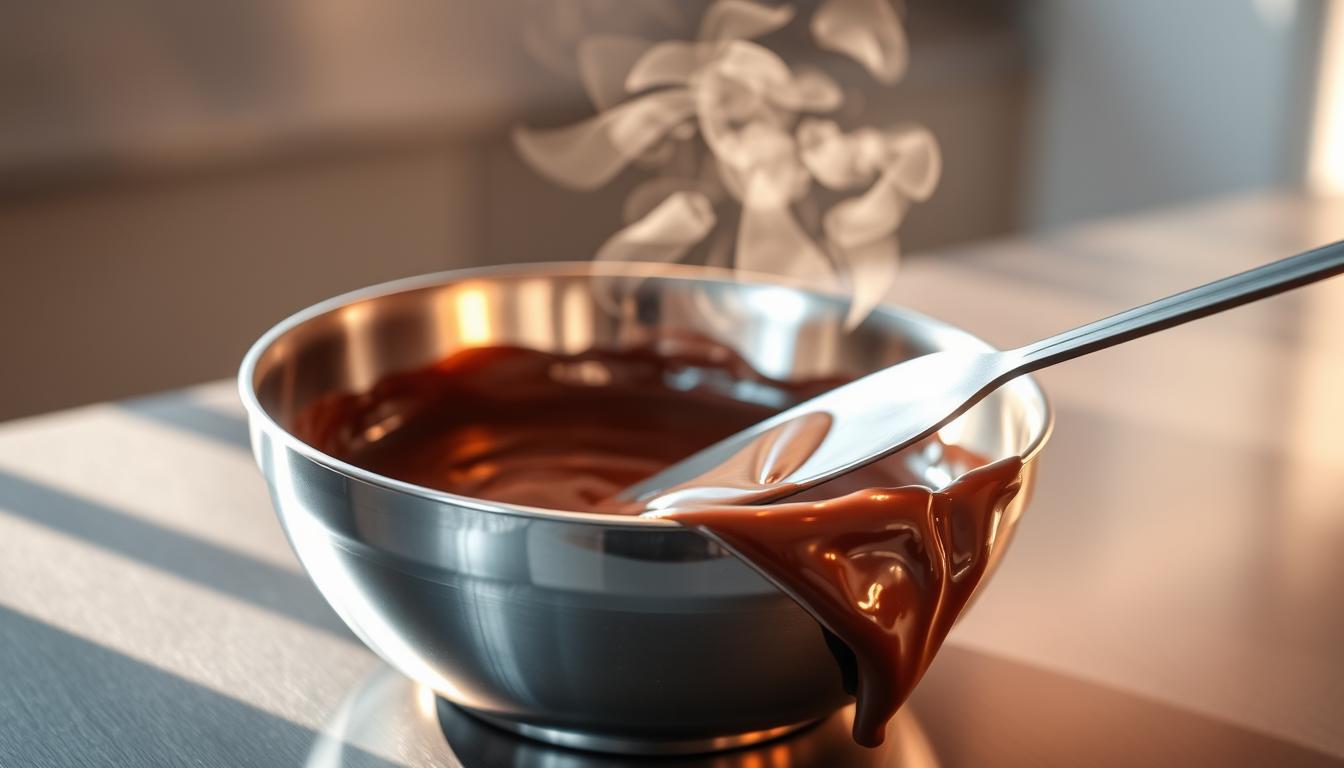
Start with a double boiler setup: a heatproof bowl over simmering water. Keep 1″ space between the bowl and water to prevent scorching. Plastic containers outperform metal or glass – they shed heat faster when cooling is critical.
Digital thermometers with ±1°F accuracy are mandatory. Guesswork destroys crystal formation. For dark varieties, never exceed 120°F. Milk and white types cap at 110°F to preserve flavor compounds.
| Chocolate Type | Max Heating Temp | Working Range |
|---|---|---|
| Bittersweet | 120°F | 88-91°F |
| Milk | 110°F | 86-89°F |
| White | 110°F | 84-87°F |
Monitoring Precise Temperature Ranges
Check readings every 45 seconds during cooling phases. Cocoa butter’s exothermic reaction can spike temperatures unexpectedly. Stir constantly with a dry spatula to distribute heat evenly.
Maintain room temperatures between 65-70°F for proper setting. Humidity above 60% causes bloom by attracting moisture to the surface. Store tempered creations in airtight containers once fully hardened.
Step-by-Step Guide to Tempering Chocolate
Two reliable techniques transform melted cocoa into glossy coatings: the controlled seeding approach and the accessible microwave method. Both require precision but reward you with professional-grade results when executed properly.

Tempering by Seeding Method
Melt 2/3 of your chopped chocolate to 115°F (110°F for milk/white varieties) using a double boiler. Remove from heat and gradually add reserved chunks – this “seed” chocolate contains stable crystals. Stir continuously until the mixture cools to 84°F, about 15 minutes. Briefly reheat to 89°F for optimal viscosity.
Tempering Using the Microwave Technique
Microwave 2/3 of chopped chocolate at 50% power in 1-minute bursts, stirring between each cycle. Stop heating at 100-110°F. Add remaining pieces in small batches, stirring vigorously until reaching 84-91°F. This method works best with 1-pound batches for even heat distribution.
Test your temper by spreading a thin layer on parchment. Properly crystallized chocolate sets in 3-5 minutes with no streaks. If it hardens correctly, use it immediately for dipping or molding. Store unused portions at 89°F in a thermos to maintain workability.
Both methods demand patience during the 84°F cooling phase – rushing creates weak crystal networks. For microwave users, rotate your bowl every 30 seconds to prevent hot spots. Seeding practitioners should chop reserve chocolate finely for faster incorporation.
Common Challenges and Troubleshooting Tips
Even seasoned chocolatiers face hurdles when working with finicky cocoa butter. Environmental factors like room temperature and humidity demand constant attention – a 5% shift in moisture levels can ruin crystal alignment.

Managing Temperature Fluctuations
Maintain workspaces between 64-70°F with 50-65% humidity. Higher heat melts Type V crystals, while cooler environments cause premature hardening. Use these strategies:
- Pre-warm molds to prevent thermal shock
- Close windows during rainy seasons
- Run dehumidifiers in tropical climates
“A single water droplet can seize 2 pounds of melted chocolate in seconds – always keep towels nearby.”
Rescuing Failed Batches
Grainy or lumpy textures signal trouble. For seized mixtures caused by water exposure, add 1 tsp vegetable oil per 8 oz chocolate. Stir gently until smooth – but note this creates a sauce, not tempering material.
| Issue | Cause | Solution |
|---|---|---|
| White streaks | Blooming | Re-temper at 89°F |
| Sticky surface | High humidity | Use silica gel packs |
| Dull finish | Incorrect cooling | Adjust room temp |
Preserving Perfection
Store finished pieces in airtight containers with parchment liners. Avoid refrigeration unless absolutely necessary – condensation triggers bloom. For summer events, keep displays below 72°F using chilled marble slabs.
Best Practices for Maintaining Perfect Tempered Chocolate
Maintaining tempered chocolate’s quality requires vigilant temperature control and smart storage solutions. Your ability to preserve crystal alignment determines whether creations stay glossy for days or degrade within hours.
Proper Storage and Environmental Considerations
Store excess material flat between parchment sheets or in airtight bags. This preserves crystal structure while preventing moisture absorption. Keep your workspace at 68-72°F – cooler than this slows setting, warmer risks melting.
Re-temper batches by reheating to 89°F if they thicken. For overheated mixtures, add 10% fresh chopped chocolate while stirring. Watch for these signs of over-processing:
- Excessive thickness during dipping
- Visible graininess in melted batches
- Slow setting times (>8 minutes)
Consistent Agitation and Timely Temperature Adjustments
Stir every 3-4 minutes using figure-eight motions. This maintains even heat distribution without incorporating air. Track viscosity changes with these benchmarks:
| Working Time | Consistency | Action Required |
|---|---|---|
| 0-15 minutes | Fluid | None |
| 16-25 minutes | Thickening | Rewarm to 89°F |
| 26+ minutes | Grainy | Add 5% new seeds |
Manage multiple batches by labeling containers with timestamps. Rotate between containers every 20 minutes to maintain optimal texture. For large projects, keep ⅓ of your chocolate reserved for seeding adjustments.
Conclusion
Your journey through cocoa science and kitchen precision reveals why mastery matters. The right way to approach tempering combines physics knowledge with hands-on practice. You’ve learned how crystal alignment impacts texture, why temperature control dictates success, and which tools prevent common pitfalls.
Apply these insights to elevate your desserts. Whether using seeding methods or microwave techniques, you now possess strategies for maintaining glossy finishes and crisp snaps. Troubleshooting skills let you rescue batches and adapt to environmental challenges like humidity shifts.
Remember: quality chocolate with proper cocoa butter ratios forms the foundation. Store creations correctly to preserve their sheen without refrigeration. With this knowledge, you’ll transform frustration into consistent results – the mark of a skilled confectioner.
Your upgraded understanding turns this delicate process into repeatable science. Keep practicing, trust the temperature guidelines, and watch your chocolate work rival professional patisseries. The sweet reward? Perfectly tempered treats that impress in any setting.