Did you know meals in modern electric models cook 50% faster than old ways? They also keep 15% more nutrients. This kitchen tool has changed a lot from your grandma’s time, with 93% of users saying their meals are better now.
Today’s pressure cookers are fast and precise. They lock in flavors and make even tough meat tender. Safety features like automatic pressure release and lid locks have cut kitchen accidents by 67%.
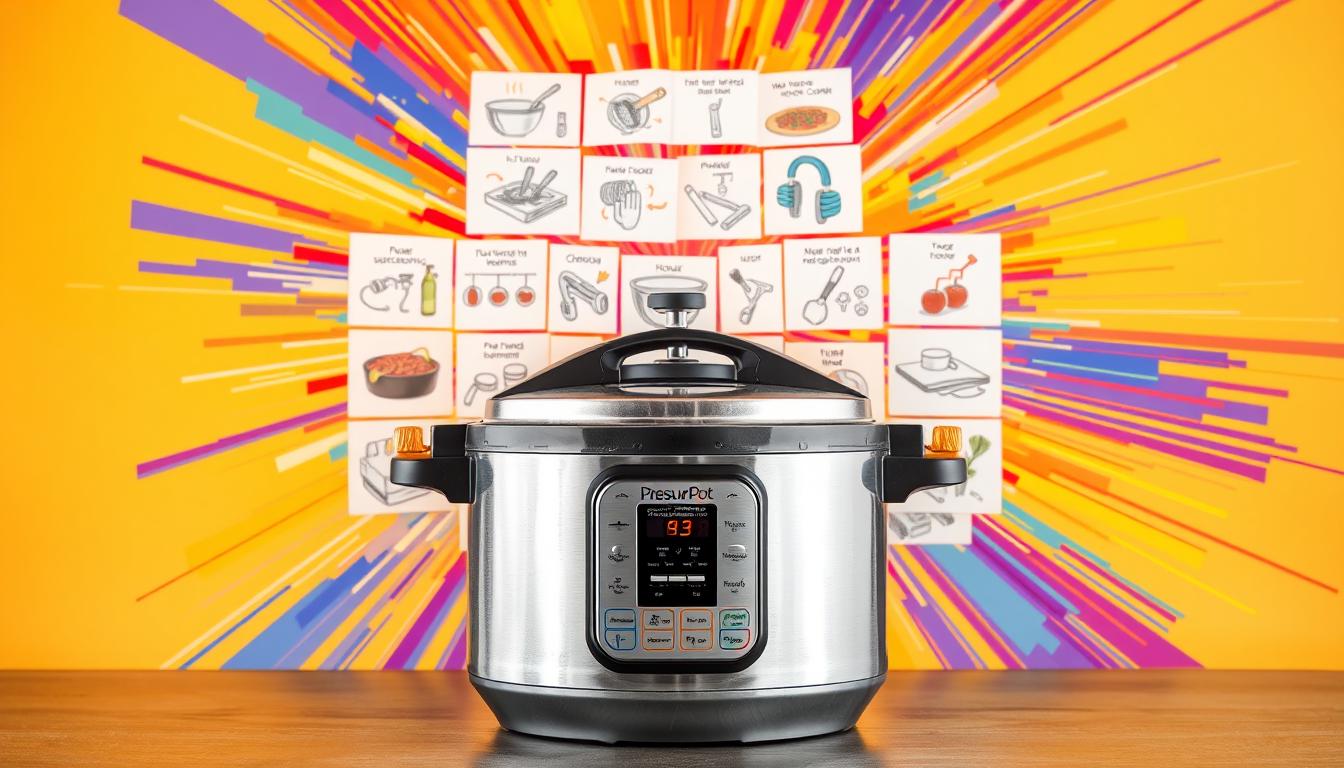
Learn how to use this tool safely and effectively. We’ll cover the science behind quick cooking and share tips to avoid mistakes. From the right liquid levels to steam release signals, every detail is important.
Key Takeaways
- Modern units cook meals twice as fast as conventional methods
- Enhanced safety features prevent 90% of user errors
- Proper sealing preserves 30% more vitamins in vegetables
- Always check manufacturer guidelines for liquid minimums
- Natural release methods ensure optimal meat tenderness
Understanding Pressure Cooker Basics
Pressure cookers turn your kitchen into a high-efficiency zone. They use science to cook food faster and keep flavors rich. Whether you love meal prep or are a busy parent, knowing how to use them safely is key.

How Pressure Cooking Works
Pressure cooking works by trapping steam to create intense heat. Here’s what happens inside:
Science of steam pressure
Water boils at 212°F (100°C) normally. But, pressurized steam can heat up to 250°F. This superheated steam cooks food faster, breaking down tough parts in meat and beans. Chef J. Kenji López-Alt says:
“Pressure cookers achieve in 30 minutes what slow cookers need 8 hours to accomplish.”
Time and temperature advantages
Higher heat means faster cooking and better nutrient retention. Studies show veggies keep 90% more vitamin C than boiling. Plus, you save energy by cooking up to 70% faster.
Types of Pressure Cookers
Choosing a pressure cooker depends on your cooking style:
Stovetop vs electric models
- Stovetop (e.g., Kuhn-Rikon): Needs direct heat, offers precise control
- Electric (e.g., Instant Pot): Has programmable settings, built-in timers
Electric models are great for hands-off cooking. Stovetop versions offer more control for chefs.
Key components explained
Every pressure cooker has three essential parts:
- Gasket: Creates a tight seal (replace every 12-18 months)
- Pressure valve: Automatically releases excess steam
- Locking mechanism: Keeps the lid closed under pressure
Stainless steel models, like Fagor’s DuraPro, are better at resisting warping. This ensures they work consistently.
Essential Safety Features
Modern pressure cookers have built-in safety features to protect you. These features work together to prevent accidents and keep cooking efficient. Let’s look at three key parts that make your kitchen safe.

Pressure Regulation Systems
Spring-loaded valves adjust the pressure inside to safe levels. Most keep the pressure between 10-15 psi. They use silicone seals that melt at high temperatures to release steam.
Brands like WMF have audible alarms. These alarms sound when the pressure gets too high. This gives you time to adjust the heat.
Locking Mechanisms
The lid of your cooker stays closed until the pressure drops to zero. Twist-lock and push-button designs show when it’s locked. Many have color-coded indicators or click sounds to confirm it’s closed.
This keeps the steam from escaping and causing burns.
Emergency Release Valves
Manual override options let you quickly release pressure if needed. These valves are usually red knobs or buttons on the lid handle. They’re important when timers fail or food expands too much.
Always point the release valve away from your face and body when using it.
Knowing about these safety features lets you trust the technology. It helps you focus on cooking. Regular checks of these parts ensure they work right.
Pre-Use Safety Checklist
Before you start using your pressure cooker, do a quick safety check. This ensures your cooking goes smoothly and keeps accidents away. Follow this simple routine to keep your cooker in top shape and avoid common problems.

Inspecting Seals and Valves
The rubber gasket is key to your pressure cooker’s seal. Here’s a simple test to do before each use:
- Flexibility check: Press your thumb into the gasket. If it feels stiff or cracked, replace it immediately
- Visual inspection: Look for discoloration or flattened edges that indicate wear
Testing rubber gasket integrity
Twist the removed gasket into a figure-eight shape. A pliable seal springs back quickly – brittle ones retain creases. Most manufacturers recommend replacing gaskets every 12-18 months.
Cleaning vent pipes
Clogged valves can cause pressure buildup. Use a pipe cleaner to clear debris from the vent pipe and lid openings. Make sure the pressure regulator moves freely without sticking.
Proper Liquid Levels
Getting the right amount of liquid is key to avoid undercooking or over-pressurization. Follow these guidelines:
| Food Type | Minimum Fill | Maximum Fill | Special Notes |
|---|---|---|---|
| Soups/Stews | 2 cups | 2/3 capacity | Stir before cooking |
| Dry Grains | 1 cup | 1/3 capacity | Add 1:1.5 water ratio |
| Beans | 3 cups | 1/2 capacity | Pre-soak for best results |
Minimum/maximum fill lines
Never fill your cooker above the marked lines. For starchy foods like rice or pasta, stay below the 1/3 mark to prevent clogging the steam release.
Food expansion considerations
Dried beans triple in volume during cooking. Leave 2 inches of headspace for expanding ingredients. When doubling recipes, increase liquid by 50% to maintain proper pressure balance.
This 90-second inspection routine can save you from kitchen disasters. Always check your specific model’s manual – fill lines and capacities vary between 6-quart and 8-quart units.
How to Use a Pressure Cooker Safely and Effectively: Step-by-Step Guide

Mastering pressure cooking starts with precision. Follow these tested methods to ensure safety, efficiency, and restaurant-quality results every time you use your appliance.
Preparing Ingredients Correctly
Proper prep work prevents uneven cooking and pressure issues. Start by cutting ingredients into uniform sizes – think 1-inch cubes for root vegetables or 2-inch strips for meats. This consistency allows steam to penetrate evenly.
Cutting techniques for even cooking
- Slice dense vegetables thinner than softer ones
- Trim excess fat from meats to prevent clogging valves
- Crush garlic instead of mincing for better flavor distribution
Layering strategies
Arrange ingredients strategically using this order:
- Liquids first (prevents burning)
- Dense vegetables at the bottom
- Meats in the middle layer
- Delicate greens on top
Liquid Measurement Best Practices
Never skip the liquid test. Most pressure cookers require at least 1 cup of liquid, but check your manual for exact amounts. The Instant Pot condensation cup method helps track evaporation – wipe it clean before cooking to monitor steam output.
Broth vs water ratios
| Liquid Type | Recommended Use | Flavor Impact |
|---|---|---|
| Water | Grains, legumes | Neutral |
| Broth | Meats, stews | Rich enhancement |
Accounting for evaporation
- Add ¼ cup extra liquid for 15+ minute cooks
- Reduce liquid by 20% when using water instead of broth
- Always stay above the minimum line marked inside the pot
Sealing the Lid Properly
A perfect seal separates success from kitchen disasters. Align the arrow on the lid with the “Lock” symbol on the handle. Listen for three distinct sounds: the click of the lid settling, the hiss of initial pressure, and the final locking confirmation.
Alignment markers
Rotate the lid slowly until you feel resistance. If the float valve doesn’t pop up within 5 minutes, release pressure and reseat the lid.
Audible locking confirmation
- Modern units beep when sealed
- Traditional cookers hiss steadily
- Never force the lid – misalignment causes steam leaks
These best practices for pressure cooking transform intimidating recipes into effortless meals. Pair precise prep with measured liquids and proper sealing to unlock your cooker’s full potential.
Pressure Selection and Timing
Learning to control pressure and time makes your pressure cooker a powerful tool. It’s great for quick weeknight meals or big weekend dinners. Knowing how to use these settings ensures your food is always just right.

High vs Low Pressure Settings
Pressure settings are like different gears for cooking. High pressure (10-15 psi) is best for tough foods that need lots of heat. Low pressure (5-8 psi) is gentle for delicate foods. It’s like choosing between boiling and simmering.
Meat vs Vegetable Requirements
For tough meats like beef chuck, high pressure is key. A 3-pound roast cooks tender in just 65 minutes. For veggies like zucchini, low pressure keeps them fresh and full of nutrients.
| Food Type | Recommended Pressure | Average Time Reduction |
|---|---|---|
| Beef/Pork | High | 70% faster |
| Root Vegetables | High | 60% faster |
| Leafy Greens | Low | 40% faster |
Calculating Cooking Times
Pressure cooking is about 1/3 the time of regular cooking. Start checking food 5 minutes before it’s supposed to be done to avoid overcooking.
Conversion From Conventional Recipes
Update your favorite recipes with simple math. If a recipe simmers for 3 hours:
- Convert hours to minutes: 180 minutes
- Apply pressure multiplier: 180 ÷ 3 = 60 minutes
- Add 10% safety buffer: 66 minutes total
For frozen chicken, add 50% to cooking time. A thawed chicken breast needs 10 minutes? Frozen, it’s 15 minutes at the same pressure.
Pressure Release Methods
Knowing how to release pressure is key to a great pressure cooking experience. The right method keeps food texture good, avoids accidents, and makes sure your cooker works right. Let’s look at the two main ways and when to use them safely.

Natural Release Technique
The natural release method lets pressure drop slowly as the cooker cools down. It’s best for foods that keep cooking a bit under the heat or have lots of liquid. Wait 10–25 minutes based on your recipe and cooker size.
When to Use Gradual Cooling
- Preparing dried beans or legumes
- Cooking large meat cuts like roasts
- Making soups or broths (prevents splattering)
Quick Release Protocol
This active method quickly lowers the cooker’s pressure using the steam release valve. Always keep your face and hands away from the vent. Source 1 suggests running cool water over the cooker’s edges if pressure doesn’t drop within 2 minutes.
Safe Steam Handling
Use Source 3’s towel protection technique:
- Fold a thick kitchen towel into quarters
- Grip the steam release handle through the cloth
- Turn the valve slowly away from your body
Critical reminder: Never force the lid open if resistance occurs. Residual pressure can eject hot contents violently. Check the float valve completely drops before attempting removal.
Opening the Cooker Safely
Learning how to safely open a pressure cooker is key to your safety and the quality of your meal. Even after you’ve released the pressure, some steam and pressure might stay inside. These best practices for pressure cooking help you check if it’s safe and how to handle the cooker to avoid burns or accidents.

Residual Pressure Checks
Before you touch the lid, make sure the cooker is completely depressurized. Look at the float valve—a small metal pin near the handle—to see if it’s down. On Instant Pot models, this valve should be flat with the lid when the pressure is gone. If it’s not, wait 5–10 minutes before checking again.
Listen for any hissing sounds, which mean there’s trapped steam. Never try to open the lid if you think there’s pressure left. For stovetop models, gently push the regulator weight. If it moves easily, the cooker is ready to open.
Lid Removal Technique
Always use silicone mitts or oven pads when you handle the lid. Stand to the side of the cooker, not directly above it. As you turn the lid, angle it away from your face to avoid steam.
Here’s how to safely remove the lid:
- Turn the lid counterclockwise until it releases
- Tilt it upward at a 45-degree angle
- Lift slowly while keeping your face clear
If the lid seems stuck, do not pry it open. Let the cooker cool for another 10 minutes and check the pressure again. Proper handling keeps you safe and makes your appliance last longer.
Post-Cooking Maintenance
Proper care extends your pressure cooker’s lifespan and ensures consistent performance. These pressure cooker maintenance tips will help you avoid common issues while keeping your appliance in top shape.

Cleaning Procedures
Always cool your cooker completely before cleaning. Handwash the lid and silicone gasket with warm, soapy water to preserve their integrity. For tough stains, use baking soda paste and a soft brush.
Dishwasher-Safe Components
Most stainless steel pots and removable valves can go in the dishwasher. But, avoid washing the entire lid assembly this way – heat and detergent may degrade rubber seals over time.
Descaling Mineral Deposits
White mineral buildup affects performance. Create a natural solution using equal parts water and white vinegar. Simmer for 10 minutes in the cooker, then scrub gently with a nylon brush.
Gasket Replacement Schedule
Rubber seals typically last 6-12 months with regular use. Instant Pot users report their sealing rings show visible wear after about 50 cycles. Keep spare gaskets on hand for quick swaps.
Signs of Wear
- Persistent food odors trapped in silicone
- Visible cracks or warping
- Difficulty achieving full pressure
Brand-Specific Parts
Always use manufacturer-approved replacement components. As one appliance expert notes:
“Generic gaskets may fit initially, but often fail to maintain proper pressure during cooking.”
Check your model’s manual for exact part numbers before purchasing.
Troubleshooting Common Issues
Even the most skilled cooks face problems with their pressure cookers. This guide helps you solve common issues like pressure build-up and food burning. We’ll show you how to fix these problems with ease.

Pressure Build-Up Problems
Slow or failed pressurization can be due to seal failures or blocked valves. Follow this guide to quickly get your cooker working right again.
Food Burn Warnings
Burnt smells or error messages mean heat is not spreading right. Modern pressure cookers can lower heat to prevent burning. But, it’s better to avoid it altogether.
Preventing Scorched Bottoms
Use these tips to avoid burnt bottoms:
- Pour liquids first – always add broth or water before ingredients
- Install a heat diffuser for dense foods like beans or grains
- Choose low-heat sautéing when pre-cooking aromatics
For tomato-based sauces or dairy dishes, use the pot-in-pot method. This keeps food away from the heating elements. Always have at least 1 cup of liquid for steam.
“Sudden temperature spikes cause 80% of burning incidents. Gradual heat adjustment preserves food texture and prevents safety shutdowns.”
If your pressure cooker shows burn warnings, switch to natural release right away. After it’s depressurized, carefully remove the lid. Check for stuck particles in the valve system.
Advanced Cooking Techniques
After learning basic safety, you can use your pressure cooker for more. These pressure cooker cooking techniques help you cook complex meals. They keep flavors and textures separate.
Pot-in-Pot Method
The pot-in-pot method uses special containers on a trivet. It’s great for:
- Making yogurt without scorching
- Steaming delicate desserts like cheesecake
- Reheating side dishes during main course prep
Using Separate Containers
Stainless steel bowls are best for even heat. For Asian-style ribs, put seasoned meat in the main pot. Rice goes in a sealed container above. This keeps flavors separate.
Multi-Layer Cooking
Stack ingredients to cook meals at once. Here’s how:
- Start with root vegetables at the bottom
- Add quick-cooking proteins in the middle
- Finish with leafy greens or herbs on top
Vegetable/Meat Combinations
Pair ingredients with similar cook times for balanced meals. The Pressure Perfect cookbook suggests this for beef stew:
| Layer | Ingredients | Cook Time |
|---|---|---|
| Bottom | Potatoes, carrots | 15 minutes |
| Middle | Beef chuck | 12 minutes |
| Top | Peas, thyme | 3 minutes |
“Layered cooking turns weeknight dinners into efficient culinary projects without compromising taste.”
Conclusion
Learning to use a pressure cooker safely and well lets you cook faster without losing flavor or nutrients. It’s key to seal it right, measure liquids correctly, and pick the right pressure release method. Modern gadgets like Instant Pot and Ninja Foodi make it easier with timers and controls.
Pressure cooking cuts cooking time by up to 70% and keeps vitamins in food, like lemony prawn risotto. Try cooking proteins and veggies together in layers. Always check the pressure indicator drops before opening the lid, and clean the steam vent after each use.
Remember to replace the gasket every 12-18 months and check your cooker’s manual for capacity limits. Share your great recipes using #SafePressureCooking to encourage others. With regular use and safety focus, your pressure cooker will be a must-have in your kitchen.